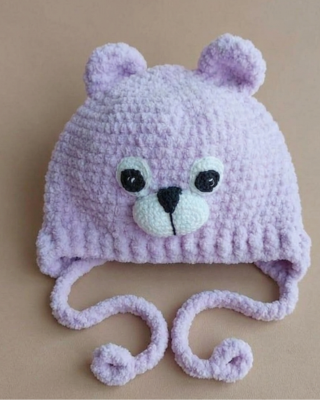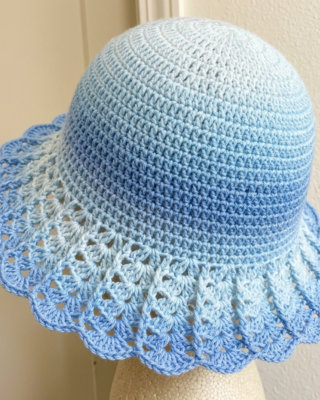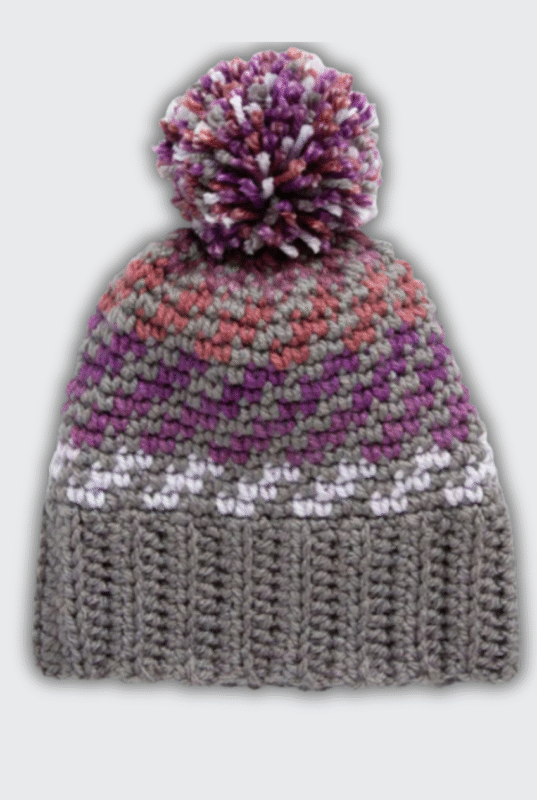
Have you ever wanted to make a crochet beanie that looks intricate without having to change colors throughout the project? This pattern is a great choice! The raised stitches create a beautiful texture, giving the hat a unique look while keeping the design elegant and timeless.
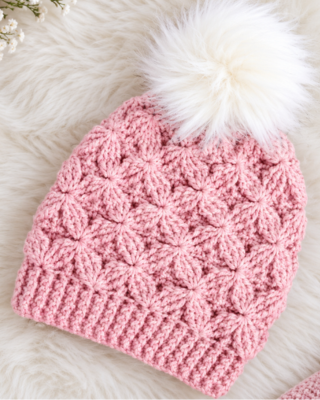
Whether you’re crocheting for yourself, making a thoughtful handmade gift, or adding a new accessory to your winter collection, this textured beanie is a rewarding project to try. You can also customize the length to suit your style, making it a little shorter for a classic fit or longer for a relaxed, slouchy look.
In this tutorial, I’ll walk you through each round, from creating the ribbed brim to working the decorative stitch pattern and shaping the top of the hat. Grab your favorite yarn and crochet hooks, get comfortable, and let’s make this beautiful crochet hat together!
Why You’ll Love This Crochet Hat
- Beautiful textured stitches: The raised floral-inspired design gives this hat a lovely handmade finish.
- Comfortable ribbed brim: The stretchy brim helps the hat fit snugly and comfortably.
- Customizable style: Adjust the length to create a classic beanie or a slouchier look.
- A lovely handmade gift: Perfect for birthdays, winter holidays, or anyone who appreciates handmade accessories.
Frequently Asked Questions
Is this crochet hat suitable for beginners?
This pattern is best suited to crocheters who are comfortable working in rounds and familiar with basic crochet stitches. The textured sections include special post stitches, so beginners may want to practice those techniques first.
What crochet hooks do I need?
You’ll need a 4.5 mm crochet hook for the ribbed brim and a 5 mm crochet hook for the textured body.
Can I make the hat slouchy?
Yes! The pattern suggests working until the hat measures a little over 8 inches for a regular fit. For a slouchier style, continue until it measures approximately 9 inches before starting the closing rounds.
What makes the textured design?
The decorative pattern combines front post treble crochet stitches worked together, chain spaces, and treble crochet clusters to create a raised, floral-inspired effect.
Materials You’ll Need
- 4.5 mm crochet hook
- 5 mm crochet hook
- Yarn suitable for your preferred hat size and desired warmth
- Size 4 yarn 160m
- 1 pom pom
Tapestry needle
Crochet Abbreviations (US Terms)
- ch – Chain
- ss / sl st – Slip stitch
- sc – Single crochet
- dc – Double crochet
- tr – Treble crochet
- fpdc – Front post double crochet
- bpdc – Back post double crochet
- fptr6tog – Front post treble crochet six together
- sk – Skip
- sp – Space
- st(s) – Stitch(es)
- sc2tog – Single crochet two together
- lp(s) – Loop(s)
- yo – Yarn over
Before You Begin
- The pattern is written using US crochet terminology.
- The hat is worked in joined rounds.
- Use the 4.5 mm hook for the ribbed brim, then switch to the 5 mm hook for the decorative body.
- The beginning chain and joining slip stitches should be worked as instructed in each round.
- For a regular fit, aim for a finished length of a little over 8 inches before the final shaping rounds. For a slouchier fit, work to approximately 9 inches.
Free Textured Crochet Hat Pattern
Ribbed Brim
Round 1: Starting with the 4.5 mm crochet hook, ch 72 and ss into the first ch to join.
Round 2: Ch 2. Working into the back bar of the chain, make 1 dc in each back bar around. Join with a ss to the first dc. (72 dc)
Round 3: Ch 2. Make 1 fpdc around the first dc, then 1 bpdc around the next dc. Repeat from * to * around. Join with a ss to the first fpdc.
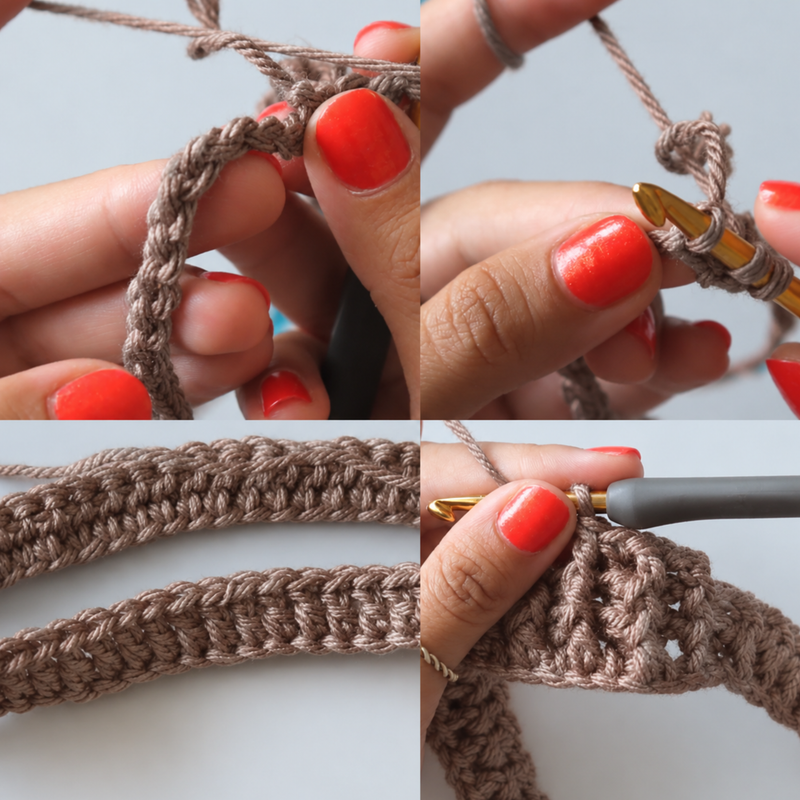
Rounds 4–7: Repeat Round 3 four more times.
Textured Body
Round 8: Switch to the 5 mm crochet hook. Ch 4 (counts as 1 tr), make 2 tr, ch 3, and 3 tr in the same sp. Ch 1, sk 3 sts, make 1 sc in the next st, ch 1, sk 3 sts, then work 3 tr, ch 3, and 3 tr in the next st. Repeat from * to * around until only 3 sts remain. Ch 1 and join with a ss to the top of the beginning ch-4.
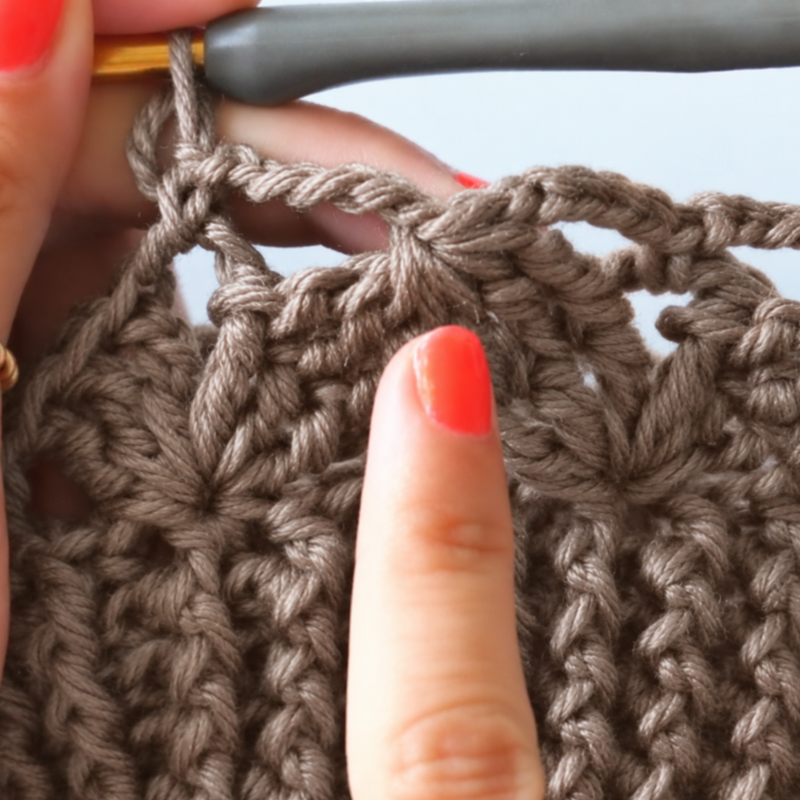
Round 9: Ss into the next 2 sts and into the ch-3 sp. Ch 1 and make 1 sc in the same ch-3 sp. Ch 5, work fptr6tog around the 6 tr as follows: yarn over and pull through all 7 loops on the hook, then ch 1 to close the stitch. Ch 5, make 1 sc in the next ch-3 sp. Repeat from * to * around. On the final ch 5, join with a ss to the first sc.
Round 10: Ch 1 and make 1 sc in the same sp. Ch 1, then work 3 tr, ch 3, and 3 tr into the ch-1 closing sp created by the fptr6tog. Ch 1, make 1 sc in the next sc, ch 1, then work 3 tr, ch 3, and 3 tr into the next ch-1 closing sp. Repeat from * to * around. After the final 3 tr, ch 3, and 3 tr group, ch 1 and join with a ss to the first sc.
Round 11: Ss into the ch-1 sp, ss into the next 3 tr sts, then ss into the ch-3 sp. Ch 1 and make 1 sc in the same sp. Repeat Round 9 from * to * and then work Round 10. Continue repeating these rounds, using the slip stitches at the beginning of Round 11 to position your work before each repeat. Work until the hat measures a little over 8 inches from the starting edge. For a slouchy hat, continue until it measures approximately 9 inches. Finish this section after completing Round 10.
Shaping the Crown
Round 12: Ss into the ch-1 sp, ss into the next 3 tr sts, then ss into the ch-3 sp. Ch 1 and make 1 sc in the same sp. Ch 2, work fptr6tog, ch 1 to close the stitch, ch 2, then make 1 sc in the next ch-3 sp. Repeat from * to * around, ending with ch 2. Join with a ss to the first sc.
Round 13: Ch 1 and make 1 sc in the same sp. Make 1 sc in the ch-2 sp, 1 sc in the ch-1 closing sp, 1 sc in the next ch-2 sp, and 1 sc in the next sc. Repeat from * to * around and join with a ss to the first sc.
Round 14: Ch 1. Work sc2tog around, using the front loops as specified in the original pattern. Join with a ss to the first sc.
Round 15: Repeat Round 14. Join with a ss to the first sc, ch 1, and fasten off, leaving a long yarn tail for closing the top.
Finishing Your Crochet Hat
Thread the yarn tail onto a tapestry needle. Weave the needle through the remaining single crochet stitches around the opening, then gently pull the yarn to close the top of the hat. Secure the opening with one or two knots on the inside, then weave in the remaining end.
Adjust the brim and gently shape the textured stitches with your hands. Your cozy textured crochet hat is ready to wear or gift!
Final Thoughts
This textured crochet hat is a lovely way to combine a comfortable ribbed brim with a decorative stitch pattern. Once you get familiar with the repeating rounds, you’ll find it easier to see how the floral-inspired texture comes together.
Choose a color you love, make it fitted or slouchy, and enjoy creating a handmade accessory you’ll be proud to wear throughout the colder months.