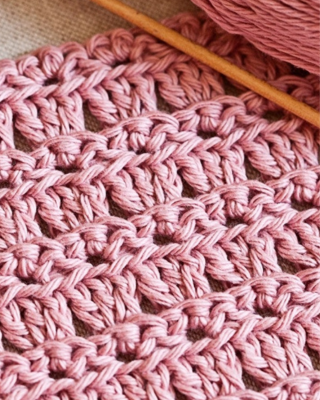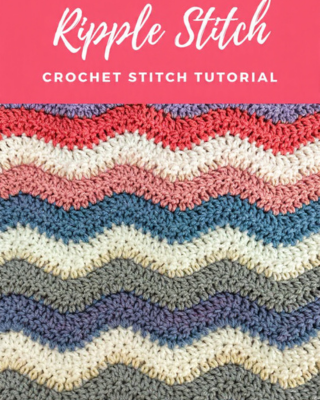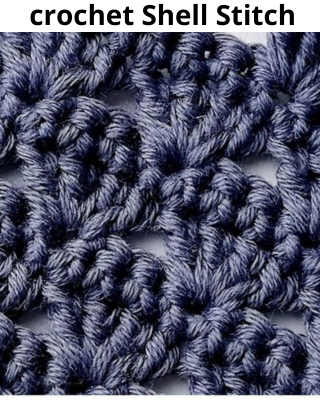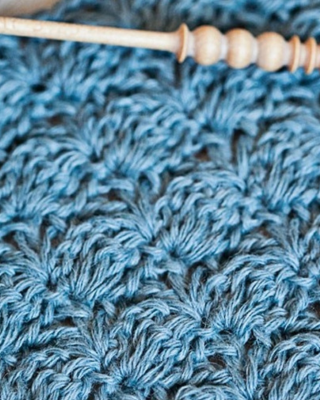
Looking for a beautiful crochet stitch with a soft, textured look? The Free Crochet Wheat Stitch Pattern is a lovely stitch to add to your collection! Its delicate texture creates a cozy fabric that looks beautiful in blankets, scarves, hats, cushions, and many other handmade projects.
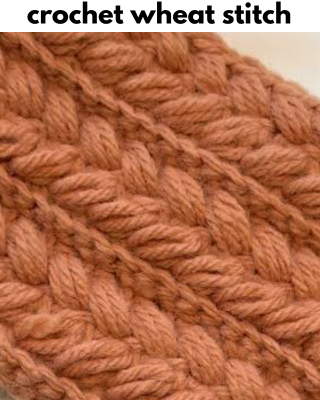
Have you ever tried a stitch that looks intricate but is actually enjoyable to work once you get the rhythm? The wheat stitch is a great choice for adding visual interest and texture without making your project feel too complicated. It also works beautifully with both neutral and colorful yarns, so you can easily make it your own.
Whether you’re learning new crochet stitches or searching for a pretty pattern for your next project, this Free Crochet Wheat Stitch Pattern is a fun one to try. Grab your favorite yarn and hook, and let’s get started!
Materials
- Worsted weight yarn is recommended (gives the puff stitches enough body without being stiff). Bulky yarn gives an extra-cozy, pillowy look; DK weight gives a lighter, more refined fabric for wearables.
- Crochet hook sized to your yarn
- Stitch marker (recommended, especially once you reach the puff stitch rows)
- Yarn needle, scissors
Gauge
17 sts x 12 rows = 4″ x 4″ unblocked, in pattern repeat.
Tip: swatch first to check your gauge, and block your swatch — many Wheat Stitch projects benefit from wet blocking to open up the texture.
Abbreviations
- blo – back loop only
- ch – chain
- RS – right side
- sc – single crochet
- sl st – slip stitch
- st(s) – stitch(es)
- WS – wrong side
Standard US crochet terminology.
Pattern Notes
- Stitch multiple: 2, + 1 turning chain.
- This is a 4-row repeat.
- Work your first row into the back humps of the starting chain for a neat foundation edge.
- The beginning ch 1 does not count as a stitch anywhere in this pattern.
- The right side of the fabric (the side with the puffs) shows a distinct ridge line from the blo sc rows.
- Skill level: Advanced Beginner — the only new technique is the modified puff stitch; everything else is sc or blo sc.
Special Stitch: Modified Puff Stitch
- Yarn over, insert your hook into the stitch/space.
- Yarn over again and pull up a long loop (pull it up to about the height of your hook) — 3 loops on the hook.
- Yarn over, insert your hook into the same stitch/space again.
- Yarn over and pull up another long loop — 5 loops on the hook total.
- Yarn over and pull through the first 4 loops.
- Yarn over and pull through the remaining 2 loops.
Construction Overview
Worked flat, back and forth in rows: chain a multiple of 2 + 1 (turning chain). Work 2 rows of back-loop-only sc, then 2 rows of the wheat stitch (puff rows), then 2 more rows of back-loop-only sc. That’s your 4-row repeat (Rows 3–6) — keep repeating until you reach your desired height, always ending on Row 6.
Pattern
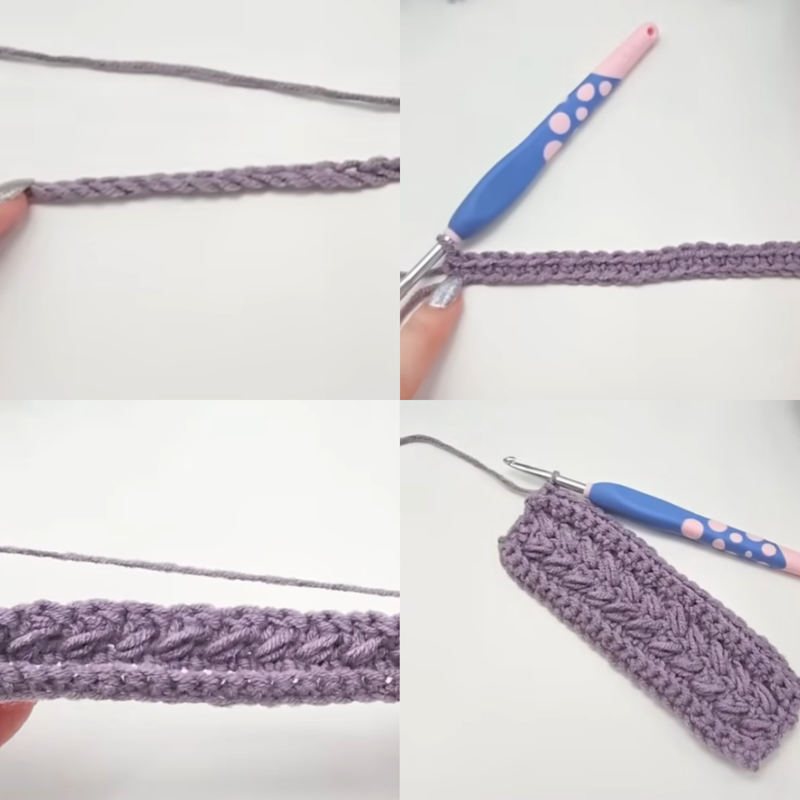
Begin with a slipknot on your hook, then build a foundation of 25 chains.
Row 1 (WS): Work your first sc into the 2nd chain away from the hook, then continue with 1 sc in every chain remaining. Turn your work. (24 sts)
Row 2 (RS): A ch-1 that won’t be counted as a stitch, then move across the row placing a sc into the back loop only of every stitch. Turn. (24 sts)
Row 3: Ch 1, and anchor the row with a sc in the very first stitch. From here you’ll work a repeating three-part sequence all the way across: pass over the next stitch without working it, place a sc into the stitch after that, then double back to the stitch you bypassed and build a modified puff stitch into it. Keep cycling through that sequence until just one stitch remains, and close the row with a plain sc there. Turn. (24 sts in total, made up of 13 sc and 11 puff stitches)
A closer look at how this row comes together: both this row and the next are worked into both loops of the stitches sitting below them, and each one opens and closes on an ordinary sc, which keeps the edges tidy. Once your opening sc is in place, the next stitch gets skipped over and the one after that receives a sc — this leaves a small open gap behind you. That gap is exactly where the modified puff belongs. Some crocheters find it useful to hook a finger or a needle into that gap first so it’s easy to locate. From there, the rhythm is: skip ahead one, sc into the next, then drop a puff stitch into whatever you skipped — carry that pattern to the end of the row, finishing on a solo sc.
Row 4: Work this row identically to Row 3.
Rows 5 and 6: Both of these rows repeat Row 2’s instructions — ch 1, then a back-loop-only sc in every stitch across. Turn after each. (24 sts per row)
Adjusting Your Piece
Want a taller or shorter finished swatch? Add or remove full passes of the four-row block (Rows 3 through 6), making sure you always stop on a completed Row 6 rather than mid-repeat.
For a wider or narrower piece, scale your starting chain by steps of 2 stitches — so a 24-stitch sample could just as easily become 40, 60, or 80 stitches, scaled to whatever you’re making.
On the staggered look of the puffs: don’t worry if the bumps in Row 3 don’t sit directly above the ones in Row 4 — that’s exactly how it should look. The slight shift between rows is what gives this stitch its braided, almost organic quality, echoing the look of real wheat stalks. If the offset looks off to you in an unexpected way, the likely culprit is working Row 4 as a mirror of Row 3 instead of a straight repeat — double-check that before troubleshooting further.
Your finished Wheat Stitch™ swatch is ready!
A Few Extra Pointers
- Getting consistent puffs comes down to loop height — try to pull each one up level with your hook before yarning over. If the puffs come out flat, your loops were likely too short; if they’re loose and sloppy-looking, the fix is usually a smaller hook rather than crocheting more tightly.
- Cotton works nicely for projects like dishcloths, totes, and lightweight summer pieces — just bump your hook up by about half a size from what the yarn label suggests, since the fabric can otherwise feel a bit rigid.
- Before diving into your own swatch, it’s worth watching a demonstration of the puff motion in action once through, so the hand movements feel familiar when you try them yourself.
Reference material: “How To Crochet The Wheat Stitch™ – Step by Step.”