Looking for an easy crochet project to keep you cozy as the weather gets cooler? This Easy Crochet Simple Beginner Scarf is a perfect project if you’re just starting your crochet journey or simply want something quick and relaxing to make.
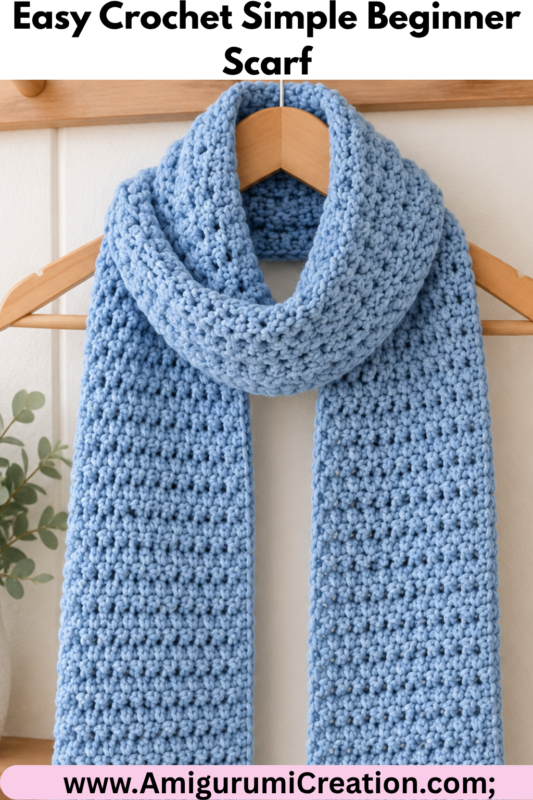
With a simple stitch pattern and an easy-to-follow design, this scarf is beginner-friendly and doesn’t require complicated techniques. You can choose your favorite yarn color and customize the length or width to create a scarf that’s completely your own.
Whether you’re making your first crochet scarf, looking for a handmade gift, or wanting a cozy accessory for fall and winter, this simple crochet scarf is a wonderful project to add to your handmade collection. Grab your favorite yarn and hook, and let’s get started!
Materials
- Worsted weight acrylic yarn
- 5 mm crochet hook
- Scissors
- Yarn needle (for weaving in ends)
Abbreviations
- ch – chain
- hdc – half double crochet
- BLO – back loop only
- st(s) – stitch(es)
This is a great first project for beginners, worked entirely in half double crochet through the back loop.
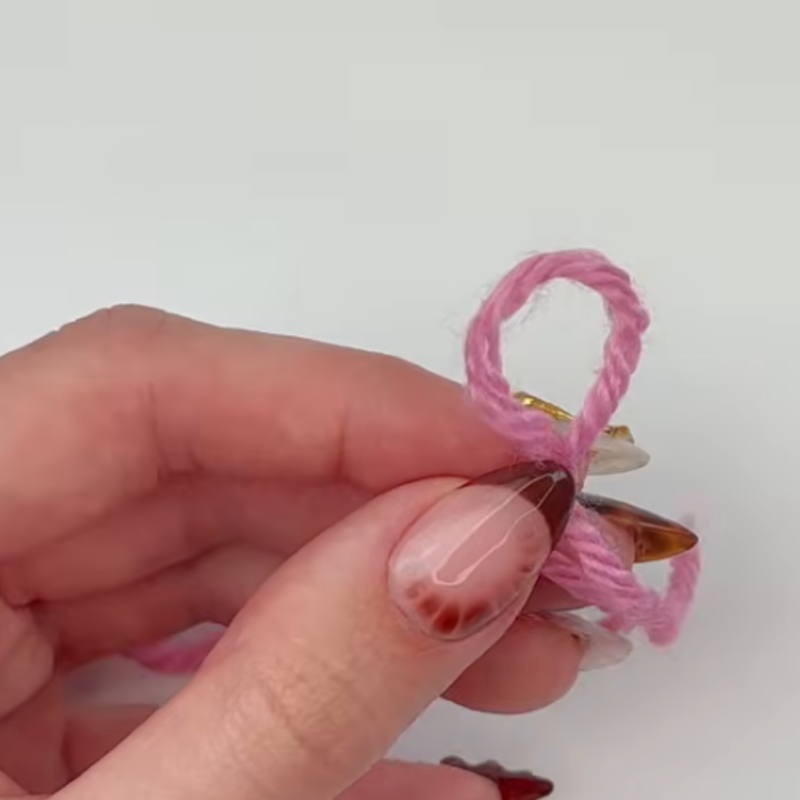
Part 1: Slip Knot
- Wrap the yarn around two fingers of one hand, pinching the yarn tail with your thumb.
- With your other hand, bring your pointer finger under the first strand of yarn and over the second strand.
- Flip that second strand up and pull it tight to form your slip knot.
- Place the slip knot onto your hook and pull it snug.
Part 2: Foundation Chain
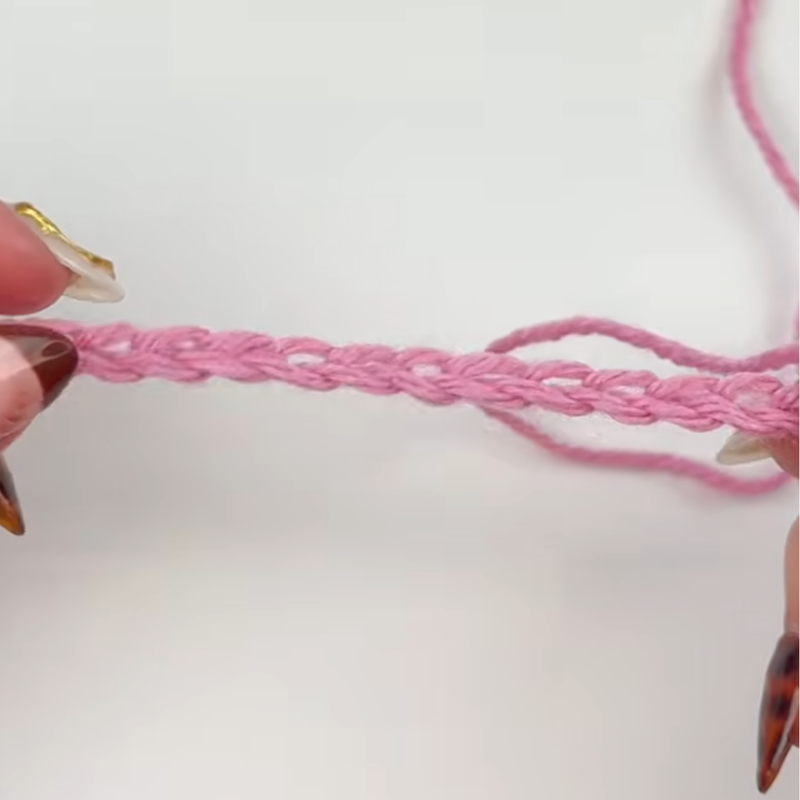
- Chain to the width you’d like your scarf to be — more chains make a wider scarf, fewer make a narrower one. (The sample used 36 chains, giving a finished width of about 9 inches.)
Part 3: Row 1
- Work 1 hdc into the 2nd chain from the hook: yarn over, insert your hook into the chain, yarn over and pull up a loop (3 loops on hook), yarn over and pull through all 3 loops.
- Continue working 1 hdc into each chain across, all the way to the last chain.
- At the end of the row, you should have one fewer stitch than your starting chain count (e.g., 36 chains → 35 hdc).
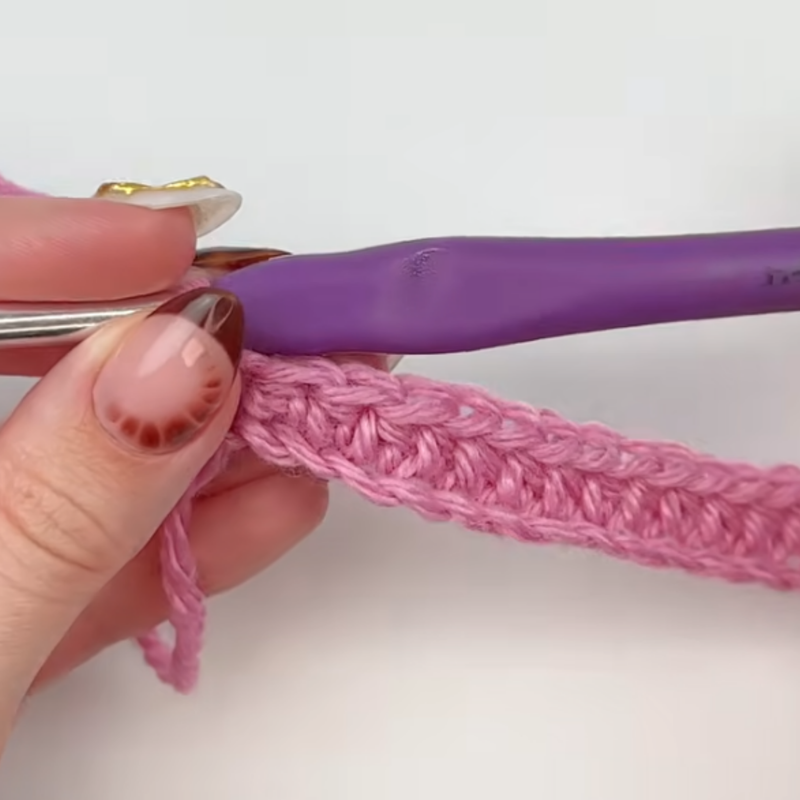
Part 4: Row 2 and All Following Rows
- Before every row, chain 1 and turn your work.
- Work 1 hdc into the back loop only of each stitch across the row. (Looking at the top of your stitches, you’ll see two “V” shapes — the one closer to you is the front loop, the one farther away is the back loop. Insert your hook under the back loop only for each stitch.)
- Skip the turning chain itself — it does not count as a stitch.
- Be careful not to miss the very last stitch at the end of each row — missing it will cause your scarf to narrow gradually as you work.
- Every row should end with the same stitch count as the row before it (e.g., 35 hdc throughout).
- Chain 1, turn, and repeat this same back-loop-only hdc row for every subsequent row.
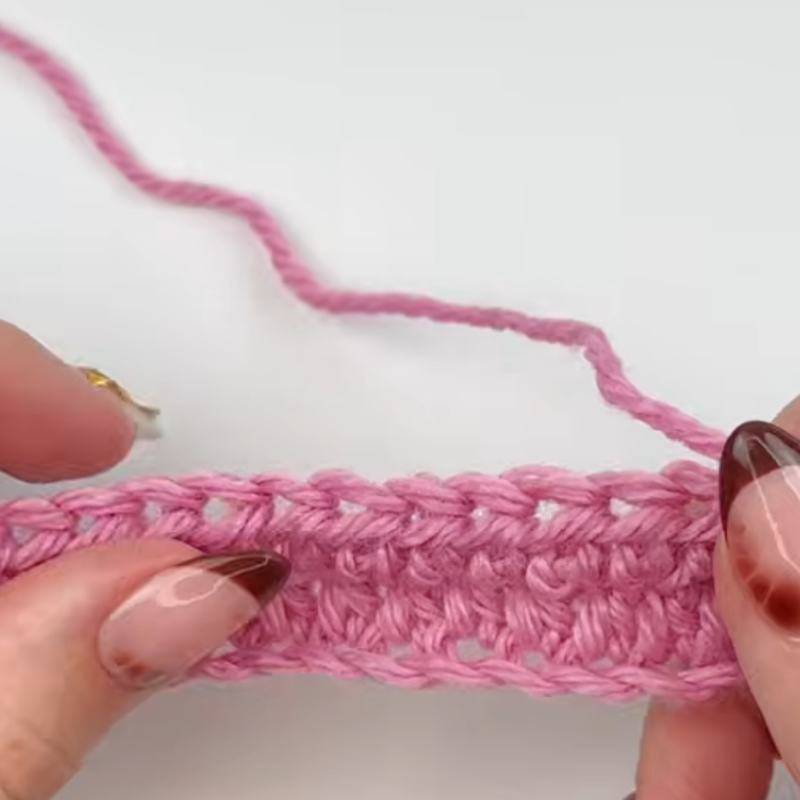
Continue working rows until your scarf reaches your desired length. (The sample worked a total of 148 rows.)
Part 5: Finishing
- At the end of your last row, chain 1 and cut your yarn, leaving a tail.
- Pull the yarn tail through the final chain and pull it tight to secure.
- Thread the tail onto a yarn needle and weave in the end.
- Weave in any remaining yarn tails from earlier in the project.
