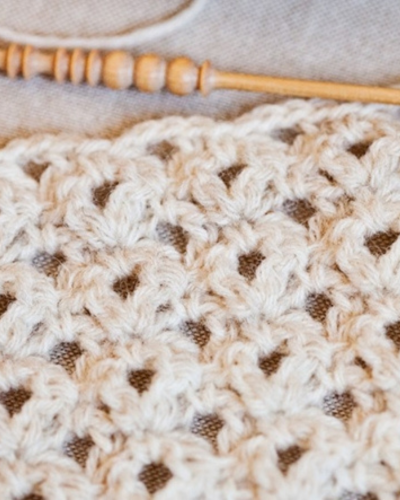
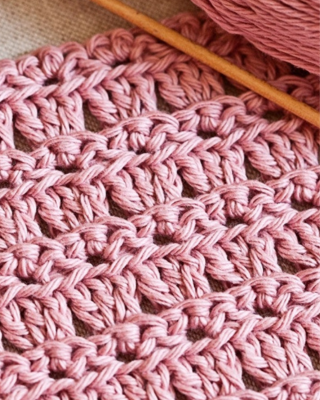
Crochet The Arrow Stitch
the Arrow Stitch is a unique and eye-catching crochet pattern that creates a beautiful textured design resembling small arrows. This stitch adds a modern and decorative touch to your projects, making it perfect for blankets, scarves, and stylish accessories.
Even though it may look detailed, the Arrow Stitch is easy to learn with a bit of practice. It combines basic crochet techniques to form a repeating pattern that gives your work a structured and elegant look. In this tutorial, you will learn step by step how to crochet the Arrow Stitch and use it to enhance your handmade creations with a bold and creative style
Abbreviations
- ch = chain
- sc = single crochet
- dc = double crochet
- hdc = half double crochet
- tr = treble crochet
- sl st = slip stitch
- st = stitch
- sp = space
- rep = repeat
- yo = yarn over
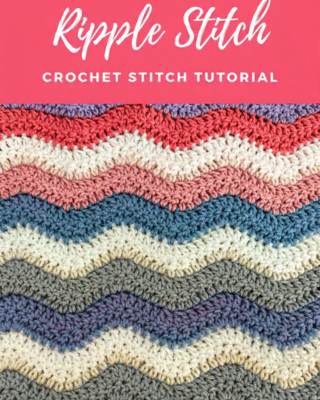
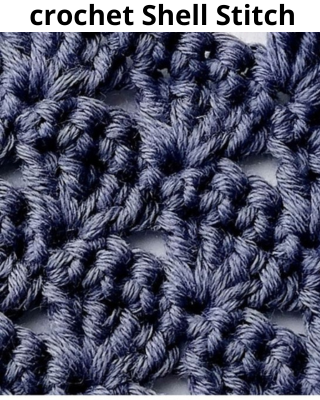
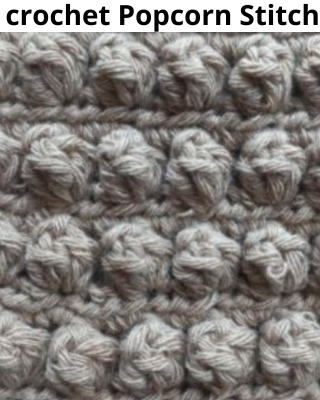
If you want to level up your crochet skills, explore more beautiful and easy crochet stitch tutorials designed for all levels. ✨ Learn new techniques, improve your creativity, and make your projects stand out with unique textures and patterns
Row 1:
Row 1: Starting in 3rd chain from hook, *work a double crochet in the next 5 chains. Chain 1, skip a chain. Repeat from * across. Double crochet in last 6 chains. Chain 1, turn.
Row 2:
Row 2: Single crochet in next 6 stitches. *Chain 1, skip over chain 1 space in row below. Single crochet in next 5 stitches. Repeat from *across. Single crochet in turning chain in row below. Chain 3, turn.
Now you’ve completed Row 2, which is a simple row of single crochets.
Row 3:
- Chain three and turn your work. The chain three counts as a double crochet.
- *Begin working a double crochet in next stitch like so: Yarn over, insert hook, yarn over, pull through loop, yarn over, pull through 2 loops. Stop there. There should be 2 loops on your hook.
Row 3: Skip first stitch. *Begin working a double crochet in next stitch like so: Yarn over, insert hook, yarn over, pull through loop, yarn over, pull through 2 loops. Stop there. There should be 2 loops on your hook. Begin working a front post treble crochet like so: Yarn over twice, insert hook from front to back around the post of the fourth double crochet 2 rows below. Yarn over, pull through the post. Yarn over, pull through 2 loops. Yarn over, pull through 2 loops. Yarn over, pull through 3 loops. This is the first half of the V complete. Peak behind the stitch you just made to double crochet in the next 3 single crochet of the row below.
Begin working a front post treble crochet like so: Yarn over twice, insert hook from front to back around the post of the fourth double crochet 2 rows below (the same post you just worked around). Yarn over, pull through the post. Yarn over, pull through 2 loops. Yarn over, pull through 2 loops. Stop here. There should be 2 loops on the hook. Begin working a double crochet in next single crochet in the row below like so: Yarn over, insert hook, yarn over, pull through loop, yarn over, pull through 2 loops. Yarn over, pull through 3 loops. Chain 1, skip over chain 1 space in row below
Repeat from *across, until last 6 stitches, with the adjustment of working around the middle double crochet 2 rows below in the next section(s) of 5. When 6 stitches remain, repeat from *, ignoring the last stitch in the row when determining the “middle”. Do not chain 1, or skip over chain 1 space in row below (there isn’t one at the end of row). Work a double crochet in the very last stitch of the row. Repeat rows 2 & 3
❌ Common Mistakes:
1. Uneven tension
If your yarn tension is too tight or too loose, the arrow shape won’t appear clearly and the pattern will look messy.
2. Wrong stitch count
The Arrow Stitch usually requires a specific number of stitches. Missing or adding stitches will distort the design.
3. Inserting the hook in the wrong place
This stitch often uses spike stitches (working into lower rows). If you insert the hook in the wrong spot, the “arrow” shape disappears.
4. Incorrect stitch height
If you don’t pull the loop high enough, the arrow will look short and uneven.
5. Skipping foundation rows
A proper base is essential. If the first rows are incorrect, the whole pattern will be off.
6. Wrong direction of stitches
Arrow stitches follow a visual direction. If you place them incorrectly, the arrows won’t align.
7. Working too fast
Rushing increases mistakes, especially with detailed stitches like this one.
Did you enjoy this tutorial?
• Leave a Comment: Share your thoughts and feedback in the comments section below — I’d love to hear from you!
• Save for Later: Pin this tutorial on Pinterest so you can easily find it again whenever you need it.
• Share the Love: If you found this helpful, feel free to share it on social media with fellow crochet lovers.