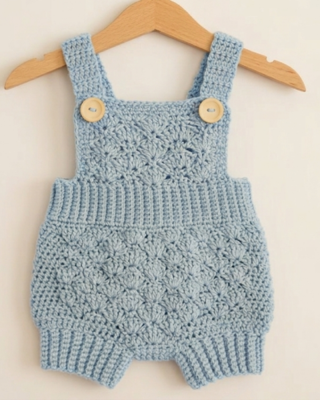
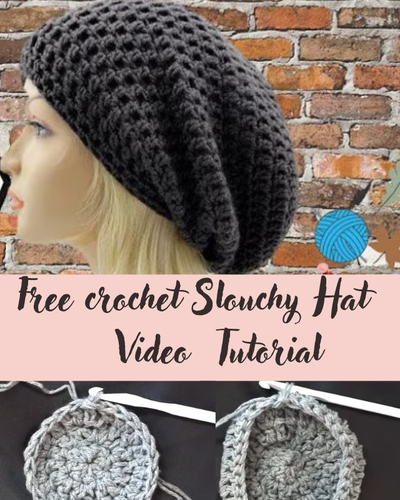
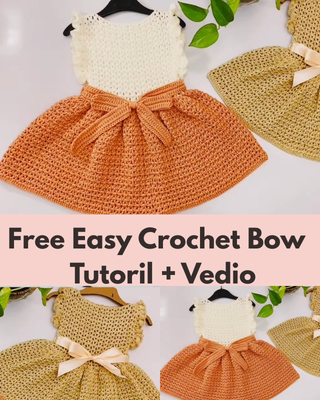
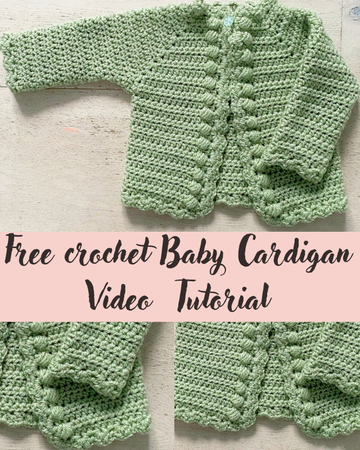
Free crochet Baby Cardigan
Materials:
*5.00mm (U.S H/8) crochet hook or size needed to obtain gauge.
*Hayfield Aran (worsted weight) yarn in the colour Haze (751) or Paintbox Yarns Simply Aran. If you purchase from these links, I will earn a small commission and can continue creating my patterns. Your support means the world to me! See chart below for approximately how much yarn you will need.
*4 stitch markers
*1 small button
stitches and abbreviations
- st or sts- stitch or stitches
- ch- chain stitch
- sl st- slip stitch
- sp- space
- sc- single crochet
- hdc- half double crochet
- hdc-shell- see explanation on the next page
- puff- see explanation on page 4
- PSM- place stitch marker
- RMS- remove stitch marker
- In- increase
Measur
The project begins by crocheting the main body of the cardigan, usually worked flat to form the back and front panels. The piece is built gradually to create a comfortable width that fits the baby’s body while maintaining an even texture throughout.
Once the body section is complete, the sleeves are created separately. These are worked to the required length and gently shaped to ensure they fit comfortably around the arms. After finishing both sleeves, they are attached to the body using simple joining techniques.
Next, the cardigan is assembled by sewing the side seams and underarm areas. This step brings the garment together and gives it its final structure. Care is taken to align edges neatly for a clean and professional look.
After assembly, edging is added around the front opening, neckline, and bottom hem. This finishing step helps define the shape of the cardigan and adds durability to areas that receive frequent use.
Finally, the project is completed by fastening off, weaving in loose ends, and checking the fit. At this stage, optional details such as buttons or simple closures can be added if desired
This summary is written in general terms and doesn’t copy detailed pattern instructions — it’s meant to give your readers an overview of what to expect when following the Dragon Gloves tutorial. To view the full pattern and video tutorial, make sure to link back to the original source.
Video tutoril