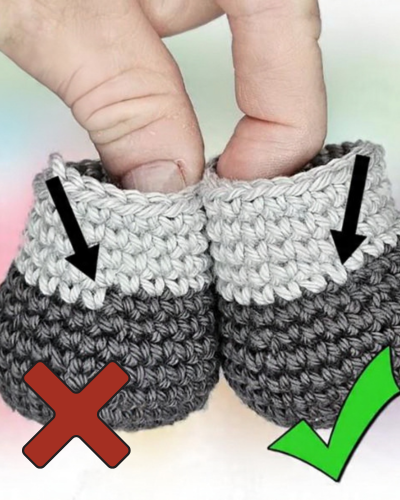
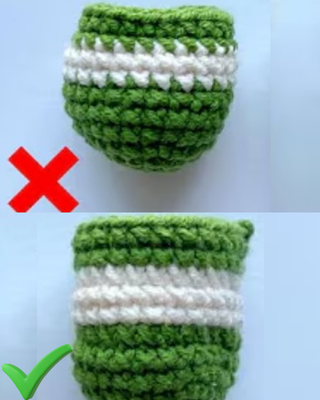
How to surface crochet for Amigurumi
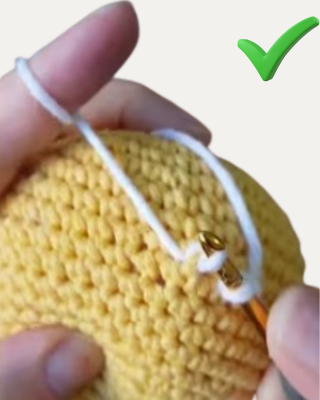
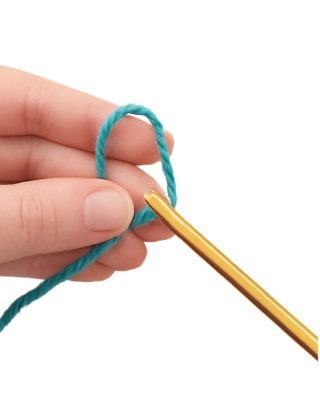
this video tutoril I am going to show you how to do surface single crochet which is what we use here on my new Addie the Axolotl pattern and I’ll show you a surface slip stitch although you only end up using it I think once or twice in this pattern it’s pretty simple but this technique can be a little bit tricky at first so let’s get into it so what you’re going to want to do is create a slip knot and then but instead of putting the slip knot on your hook you’re going to grab
Don’t forget to browse my Amigurumi tutorials for more tips, techniques, and inspiration
Scroll down to watch the step by step video tutorial on how to surface crochet slip stitches on Amigurumi.
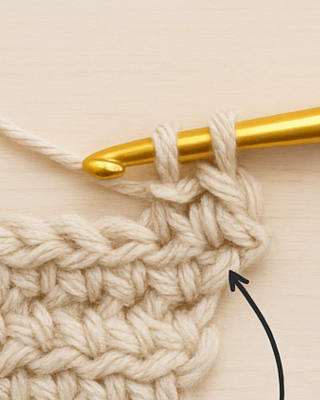
- your piece and then if you’re doing the Axolotl pattern pattern you will have marked where you’re starting on this sample I’m just going to start somewhere in the middle on the back and you’re going to insert your hook
- between rows and you can actually do this in either direction so you can go through the stitches horizontally or in the case of the Axolotl pattern you’re going to go vertically so you’re pulling up between this row so then you’re going to grab your slip
image

- knot and pull it through and this is the point where you’re going to tighten it down you just do a chain one to secure and then if you’re going to go horizontally you would do the same thing you’re going to go in between the stitches yarn over pull up a loop yarn over single crochet
- and you can just repeat that as many times as you like now to do a slip stitch it’s the exact same process you’re going to go under or between the stitches yarn over pull up a loop yarn over pull through the same Loop
step by step video tutorial on how to surface crochet slip stitches
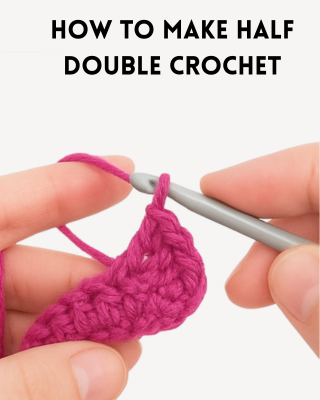
- this technique actually applies to all the kinds of basic stitches so you could even do like a half double crochet if you yarn over first pull up a loop and yarn over pull through all three so that’s how you do it horizontally it is a little bit easier to work horizontally because you’ve already got you know kind of a guide of where you’re going if you were working on adding the Axolotl you’re going to be working straight down the back so I recommend using pins and placing them so you can get as straight a line
Did you enjoy this tutorial?
• Leave a Comment: Share your thoughts and feedback in the comments section below — I’d love to hear from you!
• Save for Later: Pin this tutorial on Pinterest so you can easily find it again whenever you need it.
• Share the Love: If you found this helpful, feel free to share it on social media with fellow crochet lovers.
• Subscribe: Join my newsletter to receive updates, new free patterns, and step-by-step video tutorials delivered straight to your inbox.