how to make a magic ring in crochet
Spread the love A magic ring (also called magic circle or adjustable loop)how to make a magic ring in crochet is the best way to start crochet projects in the round like amigurumi, hats, flowers, coasters — because you can tighten the center completely with no hole Although it may seem difficult at first, the magic…
A magic ring (also called magic circle or adjustable loop)how to make a magic ring in crochet is the best way to start crochet projects in the round like amigurumi, hats, flowers, coasters — because you can tighten the center completely with no hole
Although it may seem difficult at first, the magic ring actually comes down to understanding the basics. In this article, you will learn in detail how to make a magic ring step by step, along with helpful tips to make the process easier for beginners.
Resources and tutorials you may find helpful in following this pattern: Crochet Abbreviations, US to UK Crochet Conversion Chart. Find links to stitches on the “Tutorial” menu: will show basic stitches used in many patterns and shows our growing collection of crochet stitch tutorials
Tips for Beginners
- Keep the loop loose at the beginning — it’s easier to work into.
- Use a thicker yarn to practice.
- If magic ring feels too hard, start with chain 2 and work into the second chain. (But this leaves a tiny hole.)
- double crochet half
- double treble crochet
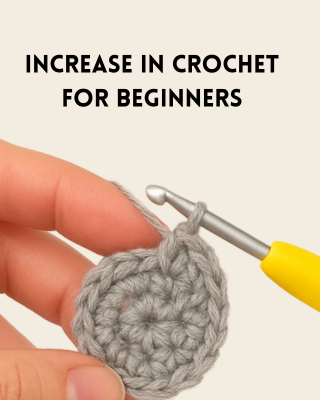
- increiase in crochet
- Change Colours in Amigurumi
When can a Magic Ring be used?
It can be used on any project that is worked in rounds. It works for both crocheting in a continuous spiral and in joined rounds. Use it instead of “Ch 2, x sc in 2nd ch from hook” in patterns.
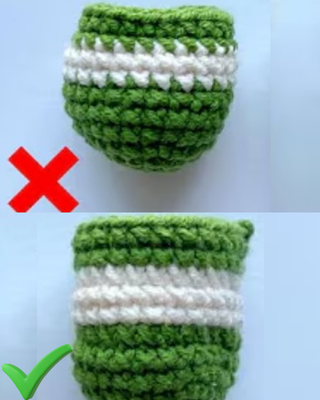
Why should I use a Magic Ring?
It’s easy and it looks good! One of the biggest benefits of using a Magic Ring is that there is no hole in the beginning of your work. The following photo shows the difference between “Ch 2, 6 sc in 2nd ch from hook” and 6 sc into a Magic Ring.
how to make a magic ring in crochet step by step
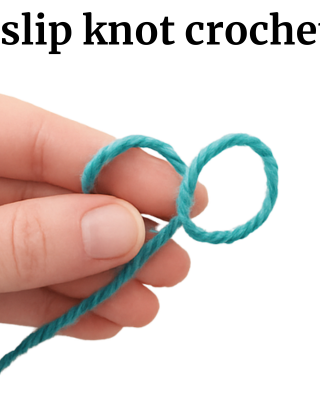
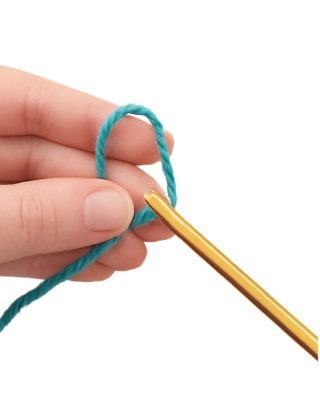
Step 1: Make a Loop
- Hold the yarn tail in your left hand.
- Wrap the working yarn over your fingers to form a loop (the working yarn should cross over the tail).
- Hold the point where they cross with your thumb.
You now have a circle that you can crochet into.
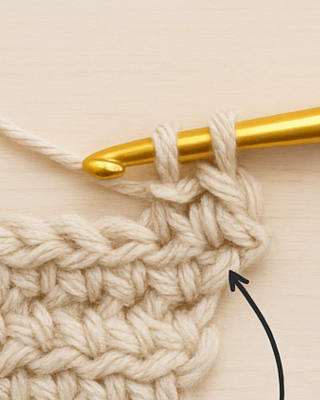
Step 2: Insert Your Hook
- Insert your hook under the bottom yarn and grab the top yarn.
- Pull the top yarn through the loop.
- Chain 1 (for single crochet) to secure the ring.
This chain does NOT count as a stitch.
Step 3: Crochet Into the Loop
- Work the required number of stitches inside the circle, going over both strands:
- the ring
- the yarn tail
Example: For amigurumi, usually 6 single crochet into the ring.
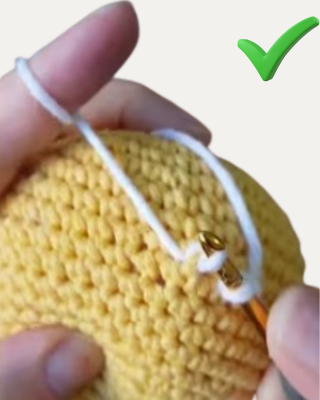
Step 4: Pull the Tail to Close
- Gently pull the yarn tail until the center hole tightens completely.
- You now have a perfect closed circle.
How to make a magic loop for beginners?
Create a loose loop with your yarn, insert your hook, pull up a loop, chain 1 to secure, then crochet your stitches into the circle and pull the tail tight to close.