how to change colors in crochet
Spread the love It covers rows, rounds, granny squares, tapestry, intarsia, carrying floats, and finishing/cleaning up tails. I also included short examples (US terms) you can follow stitch-by-stitch. Changing yarn colors in crochet can feel intimidating at first, but once you know a few simple techniques, it becomes second nature. Whether you’re making stripes, amigurumi,…
It covers rows, rounds, granny squares, tapestry, intarsia, carrying floats, and finishing/cleaning up tails. I also included short examples (US terms) you can follow stitch-by-stitch.
Changing yarn colors in crochet can feel intimidating at first, but once you know a few simple techniques, it becomes second nature. Whether you’re making stripes, amigurumi, color blocks, or tapestry designs, this guide will walk you through everything — from the easiest methods to more advanced tricks.
Why Learn to Change Colors in Crochet
Understanding color changes gives you more creative freedom. It lets you:
- Add stripes or blocks of color to blankets, scarves, or hats
- Make detailed motifs or images (like intarsia or tapestry crochet)
- Maintain clean, professional edges with minimal bumps or loose ends
- Work more efficiently by carrying yarn rather than constantly cutting
Resources and tutorials you may find helpful in following this pattern: Crochet Abbreviations, US to UK Crochet Conversion Chart. Find links to stitches on the “Tutorial” menu: will show basic stitches used in many patterns and shows our growing collection of crochet stitch tutorials.
What You’ll Need
- Two or more colors of yarn (or more, depending on your project)
- A crochet hook that matches your yarn weight
- Scissors
- A yarn needle (for weaving in ends)
- Optional: bobbins for multiple colors, stitch markers

How to Change Colors in Crochet — Step-by-Step Guide (US terms)
Quick overview — choose a method
- Finish-last-yarn-over color change — easiest and neatest for most stitches (sc, dc, hdc).
- Join new color with slip stitch or standing stitch — common when starting a new row/round.
- Carry the yarn (floats) — for tapestry/stranded colorwork.
- Intarsia (bobbin method) — for large blocks of color.
- Russian join / weave in tail — for tidy invisible joins and no knot.
- Jogless join / invisible join in rounds — reduces the visible “step” when changing colors in circular work.
How to do it (for single crochet):
- Insert your hook into the stitch, yarn over (YO), and pull up a loop — you now have two loops on your hook.
- Instead of YO with the old color, grab your new color; YO with that, and pull through both loops.
- Continue crocheting with the new color — seamless transition.
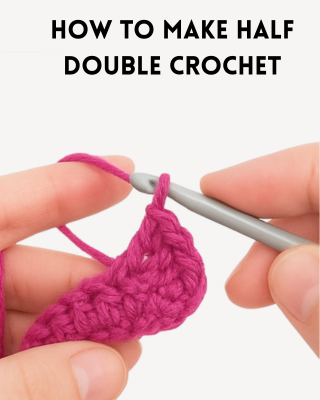
This works with many stitch types, including double crochet: just make sure the very last yarn over is done with the new color.
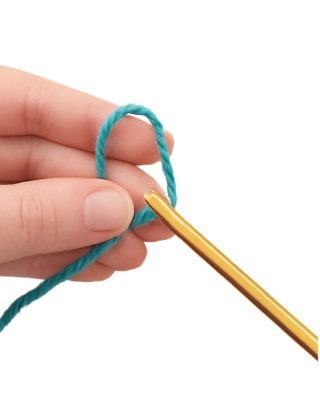
2. Loop-Over Join (Standing Stitch)
This method is especially clean when you’re starting a new row or round.
- At the end of your old row, drop or cut your yarn (leave a tail).
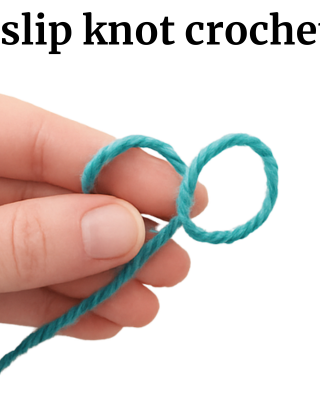
- With the new color, either make a slip knot and join with a slip stitch or create a “standing” stitch (e.g., standing double crochet). The standing stitch avoids creating a visible chain or seam.
- Work your first actual stitch as usual with the new color.
3. Mid-Row Color Change (Using Floats)
This is great when you want to change colors in the middle of a row or do colorwork (like tapestry crochet).
- When you reach the stitch where you want to change, work up to the point before the final yarn-over.
- Pick up the new color and do the final YO + pull-through with it to complete the stitch.
- Don’t cut the old yarn — carry it along behind your work (that’s called a float).
- To prevent long loose floats, twist the yarns or catch the float every few stitches.
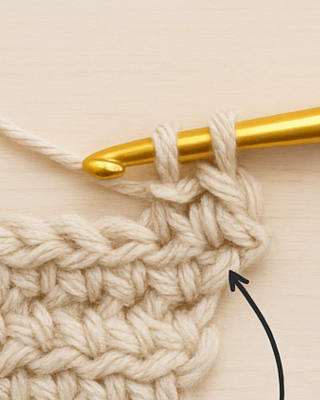
4. Seamless Color Change in the Round
When crocheting in continuous rounds (e.g., spirals or amigurumi), color changes can create visible “jogs.” Here’s how to make the transition smoother:
- Finish the last stitch before color change with the new color (pull-through method).
- On your first stitch of the next round, you can either:
- Maintain even tension to avoid loose loops or tight spots.
After changing colors, you’ll often have tails to manage. Here are a few clean finishing techniques:
- Weave them in: Use a yarn needle to weave the ends through the back or wrong side.
- Russian join: You can seamlessly join two yarn ends without a bulky knot. This method is great when you cut the yarn.
- Use bobbins: If you’re doing colorwork with many changes, wind your different yarn colors on bobbins (small yarn balls). This helps keep things organized and neat.
Tips for Neater Color Changes
- Use contrasting yarns when practicing so you can clearly see how the transition looks.
- Always twist your yarns slightly when changing, especially in tapestry work — this locks floats and keeps strands tidy.
- Keep your tension consistent across color changes to avoid loose or tight spots.
- Label your bobbins or yarn balls (if using many colors), so you don’t mix them up
Example Practice Project
Try a small swatch (10 × 10 stitches) to practice:
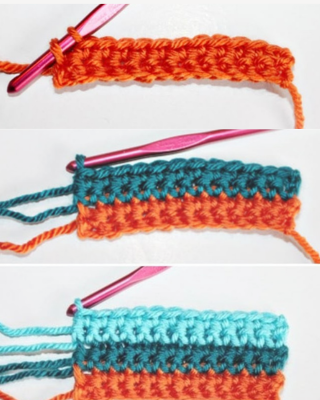
- Rows 1–2: Work in Color A using single crochet.
- Row 3: Change to Color B using the pull-through method.
- Row 4: Introduce Color C in the middle of the row, carry Color A at the back for a few stitches, then switch again.
- Finish by weaving in all tails.