Free Gingerbread Man Crochet Pattern
Spread the love“Create a festive Gingerbread Free Gingerbread Man Crochet Pattern Man with this free crochet pattern! Perfect for Christmas décor or gifts — easy, beginner-friendly instructions and step-by-step photos included.” IMPORTANT INFOThis pattern has a standing andsitting option for the gingerbreadman. The head and arms areworked the same for both. Theonly difference is the…

“Create a festive Gingerbread Free Gingerbread Man Crochet Pattern Man with this free crochet pattern! Perfect for Christmas décor or gifts — easy, beginner-friendly instructions and step-by-step photos included.”
- Materials
- Yarn
- Crochet Hook
- Stitch Markers
- Yarn Needle
- Stuffing
- Safety Eyes or Felt Eyes
- Scissors
IMPORTANT INFO
This pattern has a standing and
sitting option for the gingerbread
man. The head and arms are
worked the same for both. The
only difference is the legs and
body.
3SCINC INSTRUCTIONS-Work a single crochet.-Work another single crochet
stitch inserting your hook in
same stitch.-Work the third single crochet
stitch inserting your hook in
same stitch
COLOR CHANGE INSTRUCTIONS-Stop crocheting right before you pull through
the last two loops on the crochet hook. Drop
the old color of yarn.-Put the new yarn color on the hook, and use
the new color to pull through the last two
loops on the hook.
Here are some helpful resources you may find useful while working through this amigurumi pattern:
• Crochet Abbreviations Guide
• US–UK Crochet Conversion Chart
You can also explore the “Tutorials” menu to find step-by-step guides. There you’ll discover:
• Basic crochet stitches commonly used in many amigurumi projects
• Detailed stitch tutorials to help you build your skills
Gingerbread man crochet pattern free PDF
Arms x2
R1 MR 6sc (6)
R2 (inc)x6 (12)
R3 (sc,inc)x6 (18)
R4 sc around (18)
R5 (sc,dec)x6 (12)
R6 (sc,dec)x4 (8)
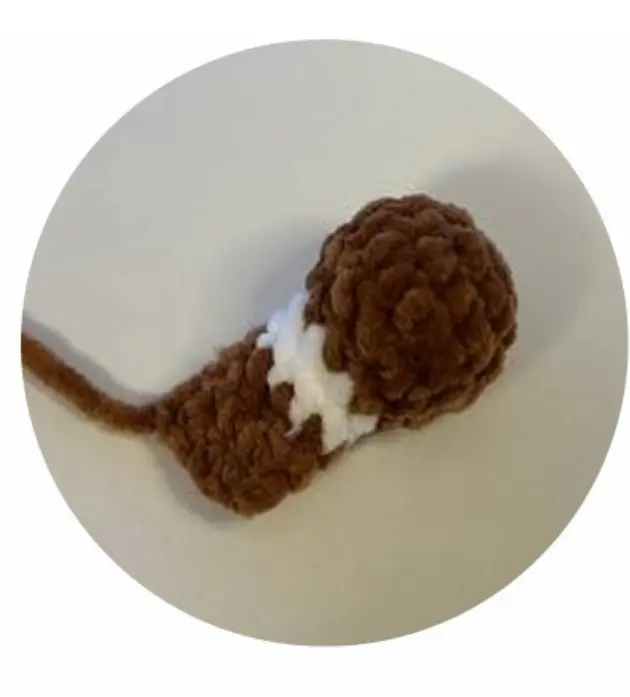
Stuff only the hand and leave the arm
unstuffed.
Color change to white now.
R7-8 sc around (2 rounds) (8)
Color change back to brown.
R9-12 sc around (4 rounds) (8)
Fold the arm in half, 4sc across.
FO. Leave a tail for sewing.
Legs Si ting x2
R1 MR 6sc (6)
R2 (inc)x6 (12)
R3 (sc,inc)x6 (18)
R4 4sc, 3scinc, 2sc, 3scinc,
2sc, 3scinc, 7sc (24)
R5 sc around (24)
R6 6sc, (dec)x6, 6sc (18)
Color change to white now.
R7 3sc, (dec)x6, 3sc (12)
R8 sc around (12)
Color change back to brown now.
R9 sc around (12)
FO. Leave a tail for sewing. Stuff.
crochet gingerbread man pattern
Body Si ting
R1 MR 8sc (8)
R2 (inc)x8 (16)
R3 (sc,inc)x8 (24)
R4 (3sc,inc)x6 (30)
R5 (4sc,inc)x6 (36)
R6-9 sc around (4 rounds) (36)
R10 (4sc,dec)x6 (30)
R11-12 sc around (2 rounds) (30)
R13 (3sc,dec)x6 (24)
R14-15 sc around (2 rounds) (24)
R16 (sc,dec)x8 (16)
R17-18 sc around (2 rounnds(16)
Stuff. The head is connected to the
body. Continue to the head section
now!
Legs Standing x2
R1 MR 6sc (6)
R2 (inc)x6 (12)
R3 (sc,inc)x6 (18)
R4 4sc, 3scinc, 2sc, 3scinc,
2sc, 3scinc, 7sc (24)
R5 sc around (24)
R6 6sc, (dec)x6, 6sc (18)
Color change to white now.
R7 3sc, (dec)x6, 3sc (12)
R8 sc around (12)
Color change back to brown now.
R9 sc around (12)
FO the first leg. Mark the 10th stitch of
the last round.
Make a second leg, crochet a extra 4sc
after round 9 do not Fo.
Standing Body
Connecting legs/body
With your yarn still attached to your second
leg, take the first leg and place a sc into
that 10th stitch with the stitch marker in it.
This will count as the first sc of R1
R1 12sc around the first leg and
12sc in the second leg (24)
R2 (3sc,inc)x6 (30)
If there are gaps between the legs, attach a
piece of yarn and tie a knot to close them!
R3 (4sc,inc)x6 (36)
R4-7 sc around (4 rounds) (36)
R8 (4sc,dec)x6 (30)
R9-10 sc around (2 rounds) (30)
R11 (3sc,dec)x6 (24)
easy gingerbread man crochet pattern free pdf
Start stuffing.
R12-13 sc around (2 rounds) (24)
R14 (sc,dec)x8 (16)
We will be crocheting on the arms in the
next round. Instructions
underlined are
when to crochet through the arm and body.
R15 4sc,
4sc, 4sc,
4sc (16)
R16 sc around (16)
Stuff. The head is connected to the body.
Continue to the head section now!
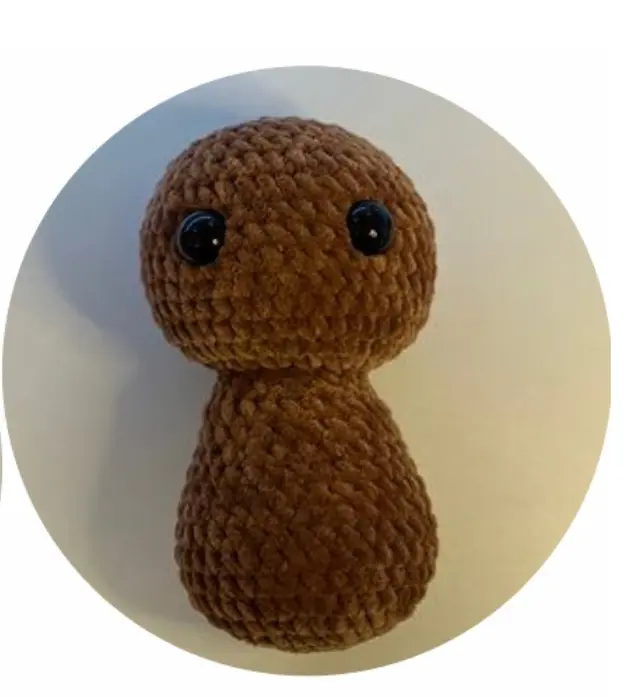
Head
R1 (inc)x16 (32)
R2 (2sc, inc)x10, 2sc (42)
R3-9 sc around (7 rounds) (42)
R10 (5sc,dec)x6 (36)
R11 (4sc,dec)x6 (30)
Place eyes between round 7-8
with 6 visible stitches between.
Begin stuffing now.
R12 (3sc,dec)x6 (24)
R13 (2sc,dec)x6 (18)
Continue stuffing
R14 (sc,dec)x6 (12)
R15 (dec)x6 (6)
Finish stuffing. FO. Cut yarn leaving a few inches.
Use a yarn needle to thread through the
back loops of the remaining 6 stitches.
Pull tight to close, weave in the end
Frosting Cap
7
R1 MR 6sc (6)
R2 (inc)x6 (12)
R3 (sc,inc)x6 (18)
R4 (2sc,inc)x6 (24)
R5 (3sc,inc)x6 (30)
R6 (4sc,inc)x6 (36)
R7 (5sc,inc)x6 (42)
R8 FLO sc around (42)
R9 2sc, hdc, 2dc, hdc, 4sc, 2hdc, dc, 2tr, dc,
2hdc, sc, hdc, dc, 2tr, dc, 2hdc, 2sc, hdc, dc, tr,
dc, hdc, sc, hdc, dc, tr, dc, hdc, 2sc
FO. Leave a long tail you will be using the
back loops left behind on round 7 to sew the
cap down.
Gumdrops
R1 MR 6sc (6)
FO. Leave a short tail if you will be gluing on
your buttons and a long tail if you would like
to sew them on
Assembly
Legs sitting
Sew on between rounds
4-9 of the body leaving about
5 stitches between them.
Arms sitting
Sew 1 round down from the neck.
You can sew them on vertically
or horizontal!
Frosting Cap
Slide the cap onto the head and sew
down the back loops left behind to
secure the hat to the head.