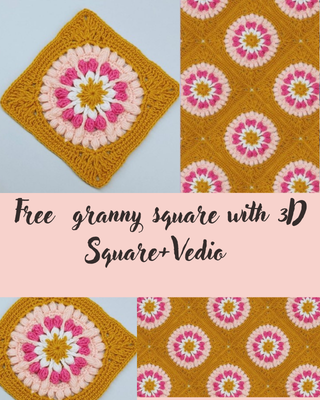
free crochet granny square with 3D Flower
Spread the love In this video tutorial, you will learn how to make a beautiful crochet granny square with a 3D flower in the center. This easy step-by-step lesson is perfect for beginners who want to improve their crochet skills while creating something stylish and useful. Abbreviations: Resources and tutorials you may find helpful in…
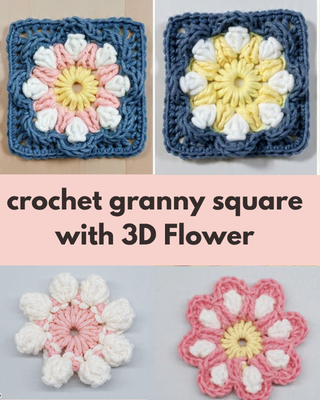
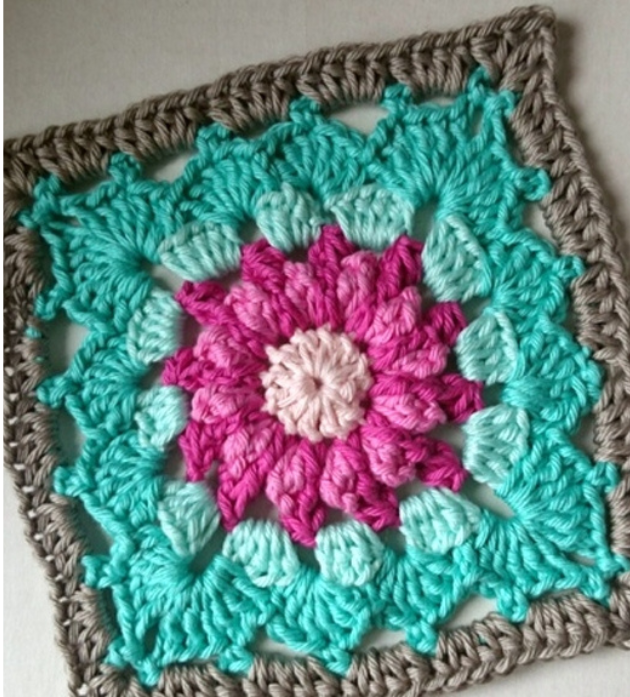
In this video tutorial, you will learn how to make a beautiful crochet granny square with a 3D flower in the center. This easy step-by-step lesson is perfect for beginners who want to improve their crochet skills while creating something stylish and useful.
Abbreviations:
- ch-sp– chain space
- dc– double crochet
- sc– single crochet
- hdc– half double crochet
- rep– repeat
- st– stitch
- slst/sl st– slip stitch for joining different rounds
- sk– skip
- sc2tog– single crochet 2 stitches together
- hdc2tog– half double crochet 2 stitches together
- pic– picot stitch
- TLO– third loop only
- FLO– front loop only
Resources and tutorials you may find helpful in following this pattern: Crochet Abbreviations, US to UK Crochet Conversion Chart. Find links to stitches on the “Tutorial” menu: Getting Started will show basic stitches used in many patterns and Crochet Stitch Dictionary shows our growing collection of crochet stitch tutorials.
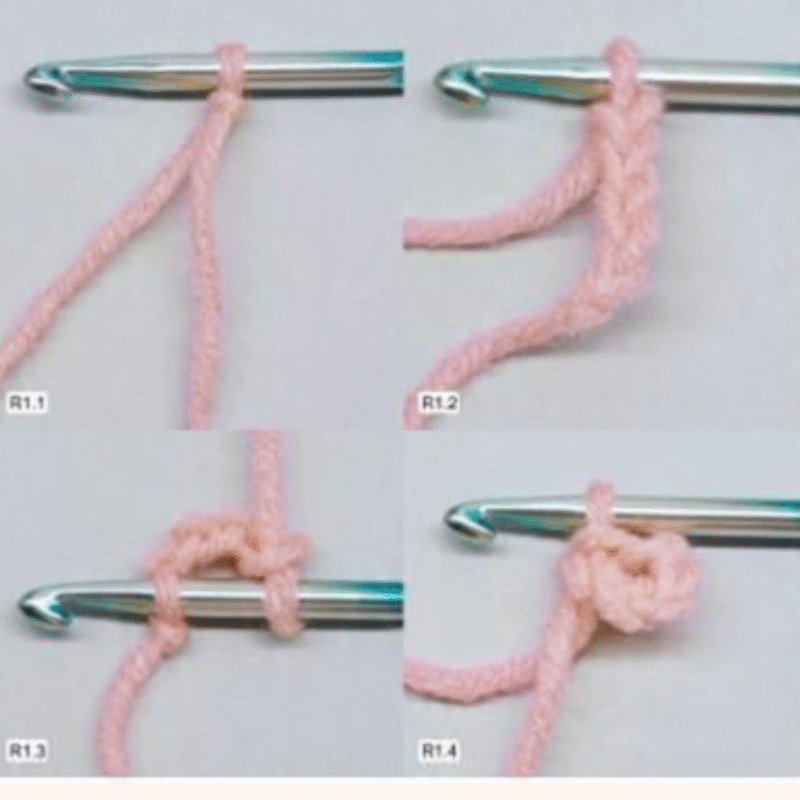
Start by making a small ring using chain stitches. This ring will be the base of the 3D flower in the middle of the granny square. Make sure the ring is not too tight so you can work easily inside it.
Round 1. Slip knot (R1.1), ch5 (R1.2), sl-st in 1st chain and form a ring (R1.3) (R1.4), ch2 (R1.5), dc, ch1, dc into ring (R1.6), repeat ** 8 times, join to 1st dc with a sl-st, fasten off, and secure ends. (R1.7)
Create the flower center
Work several stitches into the ring to form the center of the flower. The video shows the process slowly so beginners can follow each step without difficulty.
Round 2. Join with a standing popcorn in any ch1 space (R2.1), ch3, bpsc around next 2 sts, ch3, popcorn in ch1 space (R2.2), repeat ** 8 times. Omit last popcorn. Join to standing popcorn with a sl-st, fasten off, and secure ends. (R2.3)
Make the 3D flower petals
Now you will start making the petals. Each petal is worked using simple stitches, but the way they are made gives the flower a beautiful 3D look. Repeat the same stitches around the ring until the flower is complete.
Round 3. Join with a standing sc in any ch3 space after popcorn (R3.1), * fptr2tog over 2dc of round 1, skip next 2 sts of round 2, in ch3 space (sc, hdc, dc), fpdc around next st, in next ch3 space (dc, hdc, sc) (R3.2)*, repeat ** 8 times. Omit last sc. Join to standing sc with a sl-st, fasten off, and secure ends. (R3.3)
Turn the flower into a square
After finishing the flower, the next step is to transform it into a granny square. This is done by working stitches in the spaces between the petals and creating the four corners of the square.
ROUND 4. Join with a standing bpsc around any popcorn of round 2 (R4.1), * ch2, bpsc around fptr2tog, ch2, bpsc around next popcorn of round 2 (R4.2)*, repeat ** 8 times. Omit last sc. Join to standing sc with a sl-st. (R4.3)