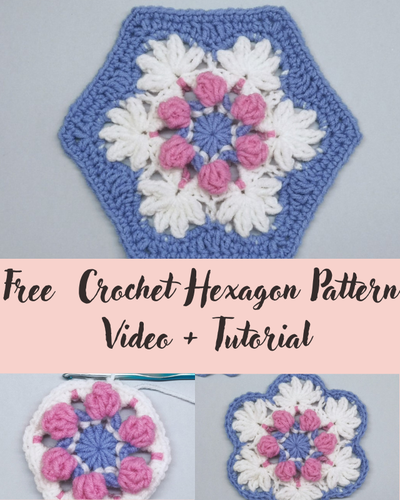
Looking for a cute and cozy crochet project to celebrate the fall season? This Easy Crochet Pumpkin Granny Square is a lovely way to bring a little autumn charm to your handmade creations! Combining the classic granny square style with an adorable pumpkin design, this pattern is perfect for adding a seasonal touch to your crochet collection.
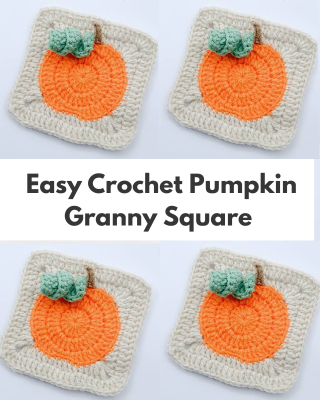
Have you ever wanted to make something festive that you can use in so many different ways? These pumpkin granny squares are perfect for creating cozy blankets, decorative pillows, tote bags, or even a beautiful fall-inspired crochet wall hanging. You can stick with traditional pumpkin orange or experiment with soft beige, cream, and rustic brown shades for a more neutral autumn look.
Materials
- Acrylic yarn (or any yarn suitable for your project — pillow, blanket, or bag; check your yarn label for the recommended hook size)
- Main color (orange, for the pumpkin)
- Small amount of a second color (green or brown, for the stem)
- 5 mm crochet hook
- Stitch marker
- Yarn needle, scissors
Abbreviations
- ch – chain
- sc – single crochet
- hdc – half double crochet
- dc – double crochet
- sl st – slip stitch
- BLO – back loop only
- st(s) – stitch(es)
- MC – magic ring
You may also like these
- Crochet baby girl blanket with 3D flow
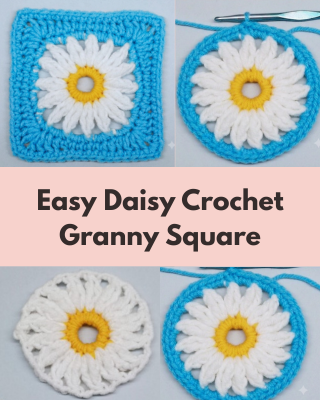
- Easy daisy granny square crochet pattern
- Easy Daisy Crochet Granny Square
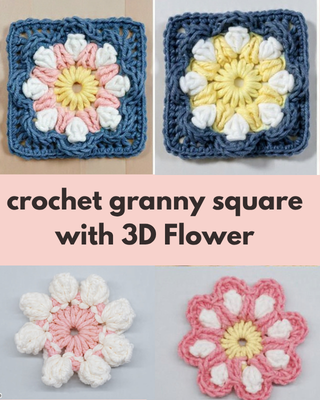
- free crochet granny square with 3D Flower
Round 1: Center Circle
Use your pumpkin (orange) color.
- Make a magic ring.
- Chain 2, then work 12 dc into the ring.
- Place a stitch marker in the first dc of the round.
- Pull the tail to close the ring.
- Join with a sl st into the first dc. Remove the stitch marker.
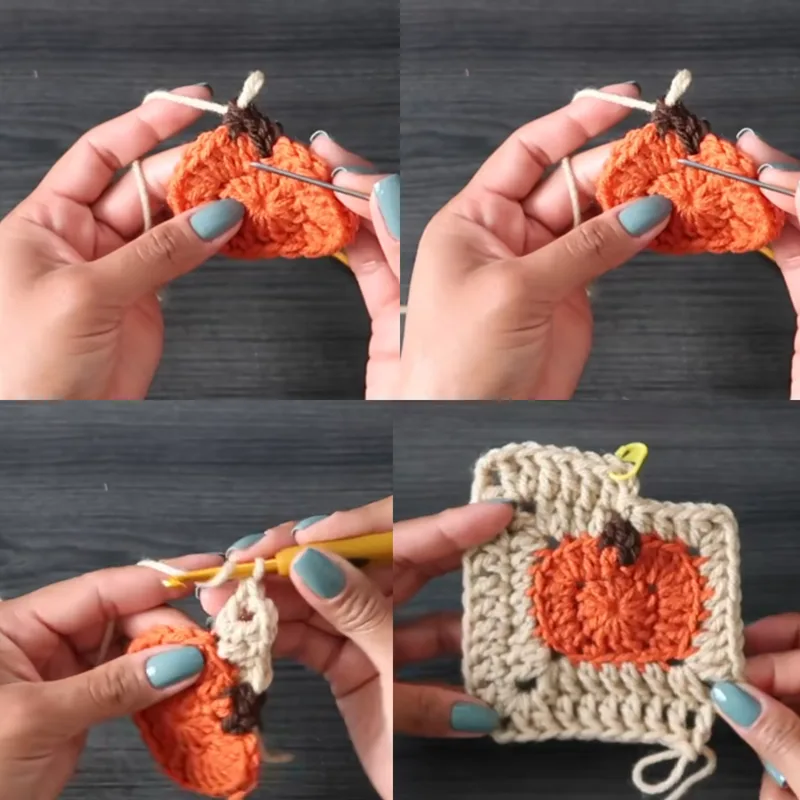
Round 2: Shaping the Pumpkin Ridges
Still in the pumpkin color.
- Chain 2, and work 1 dc directly under the ch-2 (into the same stitch as the join).
- Move your stitch marker into this first dc.
- In the next stitch, work 4 dc.
- In each of the next 2 stitches, work 2 dc (so 2 dc, then 2 dc again — a total of 4 dc across those two stitches).
- In the next stitch, work 1 sc.
- In each of the next 2 stitches, work a sl st.
- Now mirror this same sequence on the second half of the round, working backward: 1 sc in the next stitch, then 2 dc in each of the next 2 stitches, then 4 dc in the next stitch, then 1 dc in the last stitch.
- Chain 2 and slip stitch into that same stitch to finish the round.
This creates the rounded ridge/lobe shape of the pumpkin.
Round 3: Forming the Granny Square (Back Loops Only)
Switch to your second color (for the stem detail) just before finishing your last stitch of Round 2, then switch again to form the square — or simply join your square/background color now if using a single contrast color for the square edge.
- Stem: With the stem color, chain 2, then work 1 dc into the space between the turning chain and the first dc. Before completing this stitch, switch back to the color you’ll use for the granny square round, finishing the stitch in the new color.
- From here, work through the back loop only of each stitch for the entire round.
- Work 1 dc (BLO) into each of the next 2 stitches.
- First corner: work 2 dc, ch 2, 2 dc all into the same stitch (BLO).
- Work 1 hdc (BLO) into each of the next 4 stitches.
- Work 1 dc (BLO) into the next stitch.
- Second corner: work 2 dc, ch 2, 2 dc into the same next stitch (BLO), remembering to keep working through the back loop only.
- Work 1 dc (BLO) into each of the next 4 stitches.
- Third corner: work 2 dc, ch 2, 2 dc into the same stitch (BLO).
- Work 1 dc (BLO) into the next stitch, then 1 hdc (BLO) into each of the next 4 stitches.
- Fourth (last) corner: work 2 dc, ch 2, 2 dc into the same stitch (BLO).
- Work 1 dc (BLO) into each of the last 2 stitches.
- Join with a sl st into the first dc of the round.
Round 4: Standard Granny Square Round (Both Loops)
From this round on, work through both loops as usual (no more BLO).
- Chain 2, then work 1 dc into each of the next 4 stitches.
- Place your stitch marker into the first dc of the round.
- Corner: work 2 dc, ch 2, 2 dc into the corner ch-2 space from the round below (insert your hook directly into that space).
- Skip 1 stitch, then work 1 dc into each of the next 7 stitches.
- Work another corner (2 dc, ch 2, 2 dc) into the next ch-2 space.
- Continue repeating this pattern all the way around: dc into the next 7 stitches, then a corner into each ch-2 space.
- On the final side, work dc into the last 3 stitches, then join with a sl st into the first dc to close the round.
Continuing the Square
You can keep repeating rounds in the same standard granny-square manner (dc across each side, with a corner increase at each ch-2 space) to make the square as large as you’d like. Fasten off whenever you reach your desired size, and weave in all ends with a yarn needle.