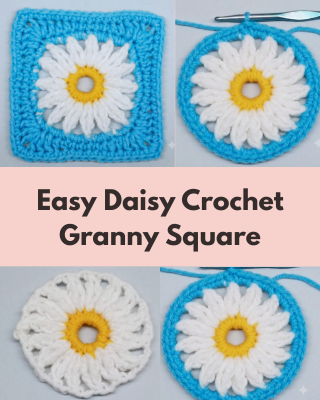
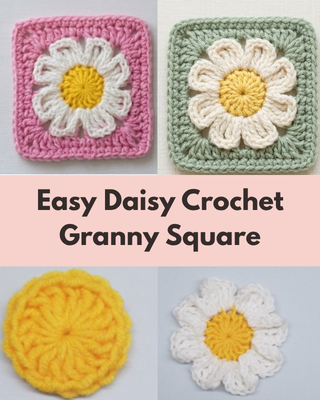
Easy Daisy Crochet Granny Square
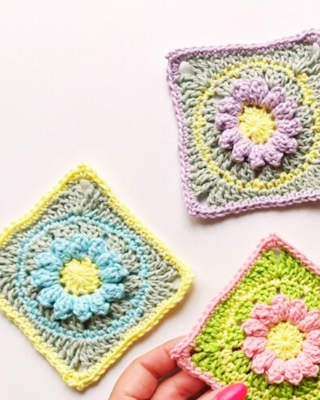
In this tutorial, The daisy granny square is loved by many crocheters because it combines a simple flower in the center with the classic granny square shape. The flower gives the square a cute and delicate look, especially when you use soft colors like white, yellow, pink, or pastel shades. That is why this pattern is often used for baby blankets, cushions, crochet bags, and even handmade decorations for the home.
Abbreviations:
- ch-sp– chain space
- dc– double crochet
- sc– single crochet
- hdc– half double crochet
- rep– repeat
- st– stitch
- slst/sl st– slip stitch for joining different rounds
- sk– skip
- sc2tog– single crochet 2 stitches together
- hdc2tog– half double crochet 2 stitches together
- pic– picot stitch
- TLO– third loop only
- FLO– front loop only
Resources and tutorials you may find helpful in following this pattern: Crochet Abbreviations, US to UK Crochet Conversion Chart. Find links to stitches on the “Tutorial” menu: Getting Started will show basic stitches used in many patterns and Crochet Stitch Dictionary shows our growing collection of crochet stitch tutorials.
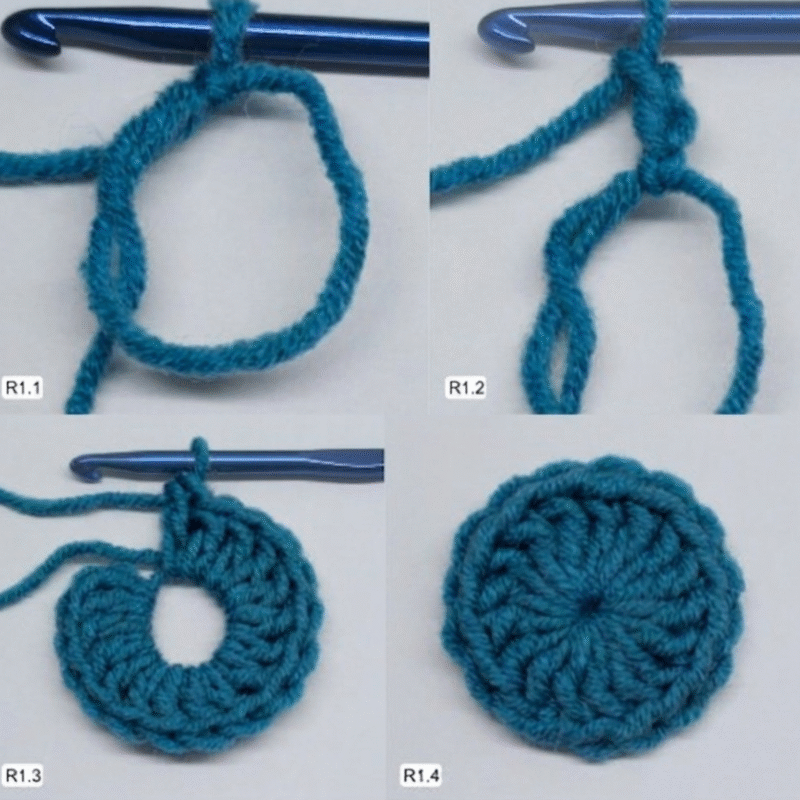
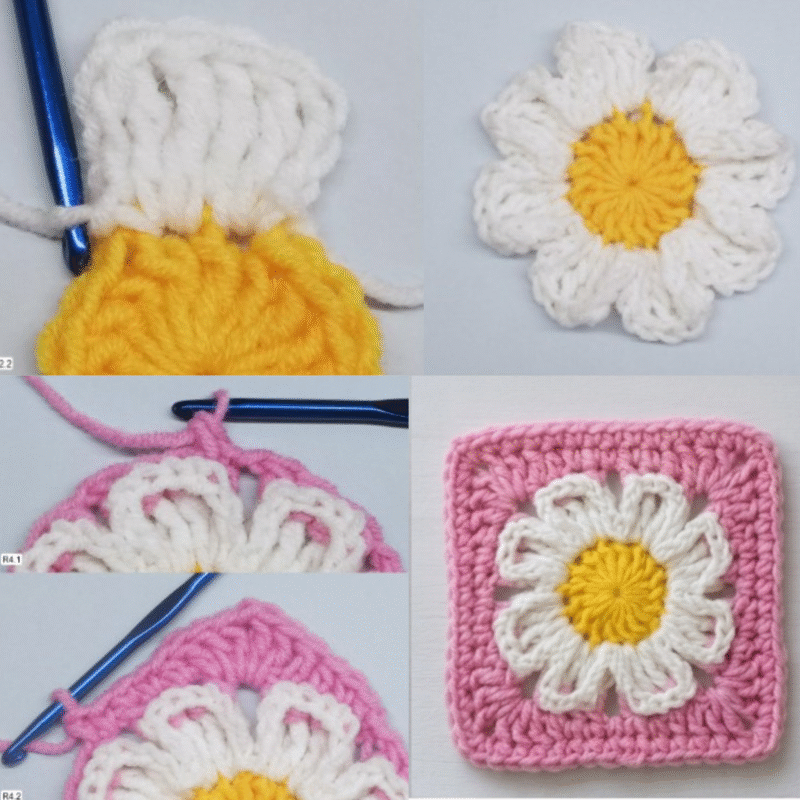
First, I make a small ring in the middle and work the stitches inside it to create the center of the daisy. After that, I continue by making the petals using simple crochet stitches. The flower becomes soft and beautiful, and the steps are very easy to repeat.
- Round 1. Magic ring (R1.1), ch2 (R1.2), 16dc into ring (R1.3). Join to 1st dc with a sl-st, fasten off, and secure ends. (R1.4)
Once the daisy flower is finished, I continue working around it to turn the flower into a granny square. I show how to make the corners and how to keep the square shape neat and balanced while crocheting
- Round 2. Join with a standing sl-st in any st (R2.1), ch3, 2tr in the same st, in the next st (2tr, ch3, sl-st) (R2.2), in the next st (sl-st, ch3, 2tr), in the next st (2tr, ch3, sl-st), repeat **7 times. Join to standing sl-st with a sl-st, fasten off, and secure ends. (R2.3)
the result is a beautiful daisy crochet granny square that can be used for baby blankets, cushions, bags, or other crochet projects. The tutorial is simple, beginner-friendly, and easy to follow from the beginning to the end.
- Round 3. Join with a standing bpsc around any tr made after ch3 space (R3.1), bpsc around the next 3 sts (R3.2), ch1, skip (ch3, si-st, sl-st, ch3), bpsc around the next 4 sts (R3.3)*, repeat ** 8 times, omit last 4 bpsc. Join to standing bpsc with a sl-st. (R3.4)
- ROUND 4. chi, sc in the same st (R4.1), sc in the next st, hdc in the next st, dc in the next st, in chi space (2dc, ch1, 2dc), dc in the next st, hdc in the next st, sc in the next 2 sts, sc in chi space, sc in the next st (R4.2), repeat* 4 times, omit last sc, join to 1st sc with a sl-st (R4.3).
You May Also Like:
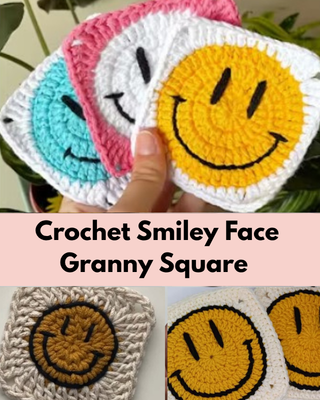
Smiley Face Granny Square
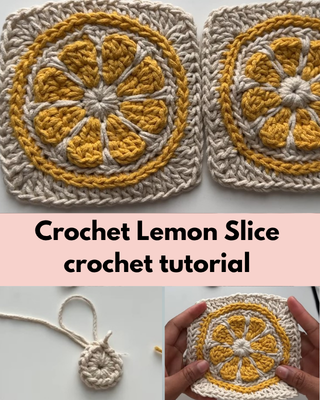
Crochet Lemon Slice crochet tutorial
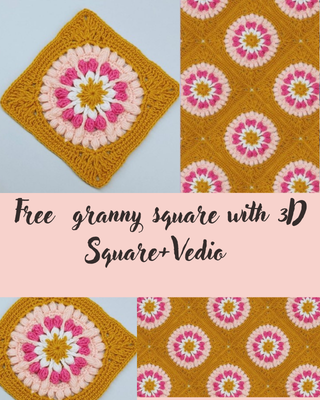
Crochet granny square with 3D
granny square for baby girl blanket
ROUND 5. ch1, sc in same st, sc in next 5 sts, in ch1 space (sc, ch1, sc), sc in next 13 sts, repeat ** 4 times, omit last 6 sc. Join to 1st sc with a sl-st, fasten off, and secure ends. (R5.1)
Did you enjoy this tutorial?
• Leave a Comment: Share your thoughts and feedback in the comments section below — I’d love to hear from you!
• Save for Later: Pin this tutorial on Pinterest so you can easily find it again whenever you need it.
• Share the Love: If you found this helpful, feel free to share it on social media with fellow crochet lovers.