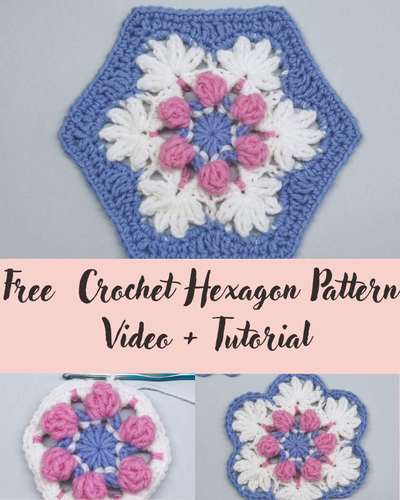
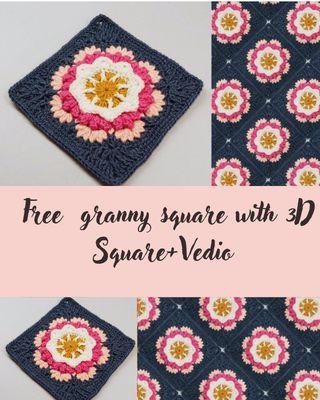
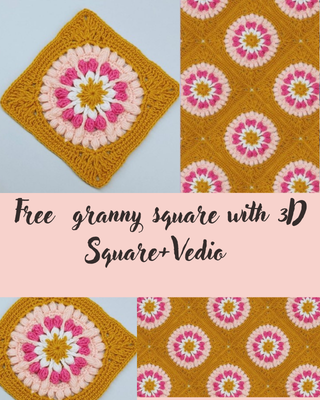
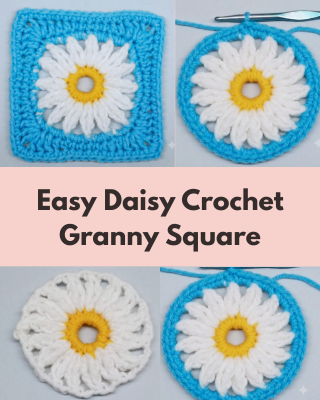
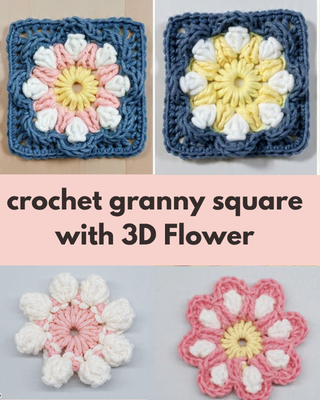
How to crochet granny square with 3D flower
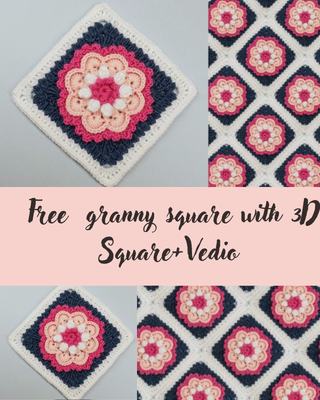
you’ll discover how to crochet a beautiful 3D granny square with a raised + Video tutoril, textured center and classic square shape. This project is worked from the center outward and uses simple techniques to create depth and visual interest. The full process is demonstrated step by step in the accompanying video tutorial, making it easy to follow along and recreate the design at your own pace.
Notes
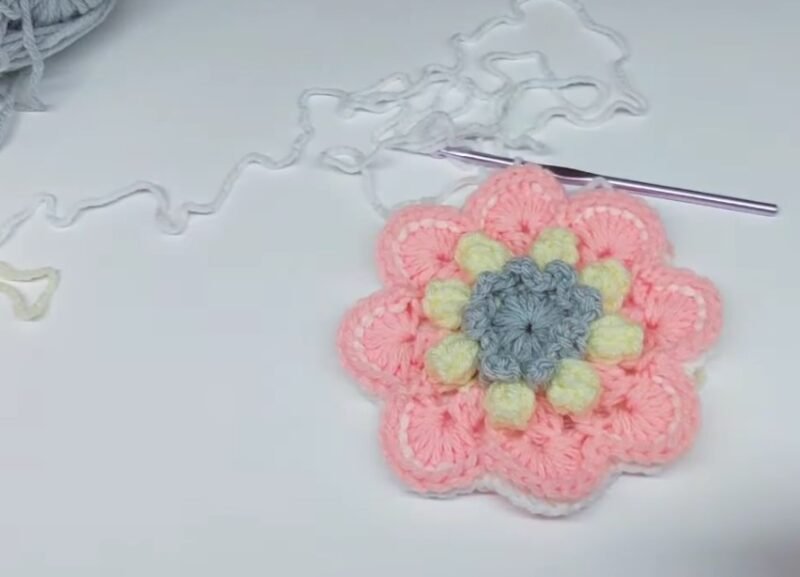
use YarnArt Finland yarn in colors 855, 226,37, 150. And 5 mm hook. The final size of the square in this yarn is 9 inches / 23 cm.
Abbreviations:
- ch-sp– chain space
- dc– double crochet
- sc– single crochet
- hdc– half double crochet
- rep– repeat
- st– stitch
- slst/sl st– slip stitch for joining different rounds
- sk– skip
- sc2tog– single crochet 2 stitches together
- hdc2tog– half double crochet 2 stitches together
- pic– picot stitch
- TLO– third loop only
- FLO– front loop only
crochet granny square
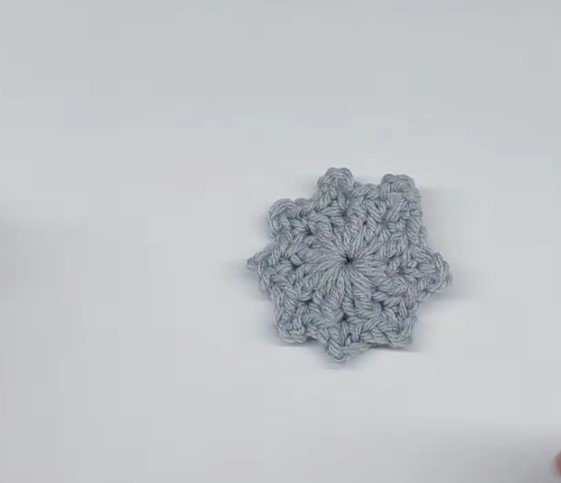
Starting from the Center
The project begins with a magic ring or a small chain loop, which forms the foundation of the granny square.

Creating the First Round
The first round is worked into the center to establish the base and define the initial shape.
- Adding the 3D Effect
- In the following rounds, specific stitches are worked into designated spaces or from previous rounds to create a raised, three-dimensional texture.
- Forming the Main Motif
- Additional rounds build the decorative element (such as a flower or textured design), maintaining an even and symmetrical structure.
Shaping into a Granny Square
The work gradually transitions from a circular form into a square by creating corners and straight edges.
Finishing the Edges
A final round is added to smooth and balance the edges, making the square easy to join with other granny squares.
Fastening Off
The yarn is cut and secured, and all loose ends are neatly woven in