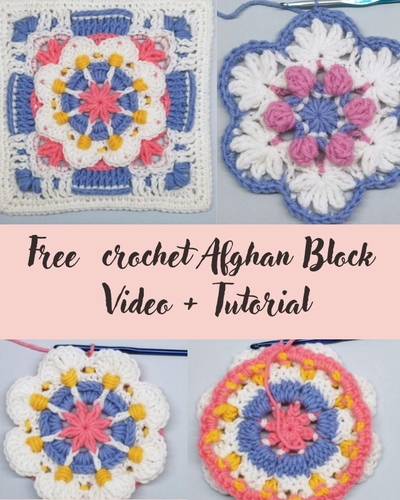
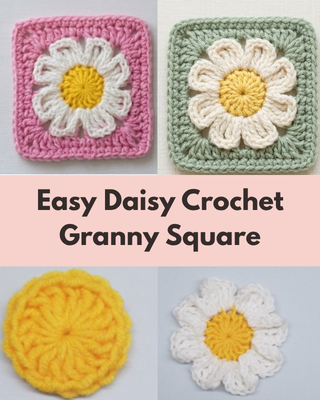
How to crochet granny square
Learning how to crochet a granny square is a great starting point for many crochet projects. This classic motif is loved for its simplicity, versatility, and endless design possibilities. From blankets and bags to clothing and home décor, granny squares can be used in countless creative ways
Perfect for beginners and relaxing for experienced crocheters, granny squares are made using basic stitches and simple repeats. Once you master the technique, you can experiment with colors, sizes, and patterns to create truly unique handmade pieces
Materials (General)
- Medium-weight yarn
- Crochet hook suited to the yarn
- Scissors
- Yarn needle (to weave in ends)
Abbreviations:
- ch-sp– chain space
- dc– double crochet
- sc– single crochet
- hdc– half double crochet
- rep– repeat
- st– stitch
- slst/sl st– slip stitch for joining different rounds
- sk– skip
- sc2tog– single crochet 2 stitches together
- hdc2tog– half double crochet 2 stitches together
- pic– picot stitch
- TLO– third loop only
- FLO– front loop only
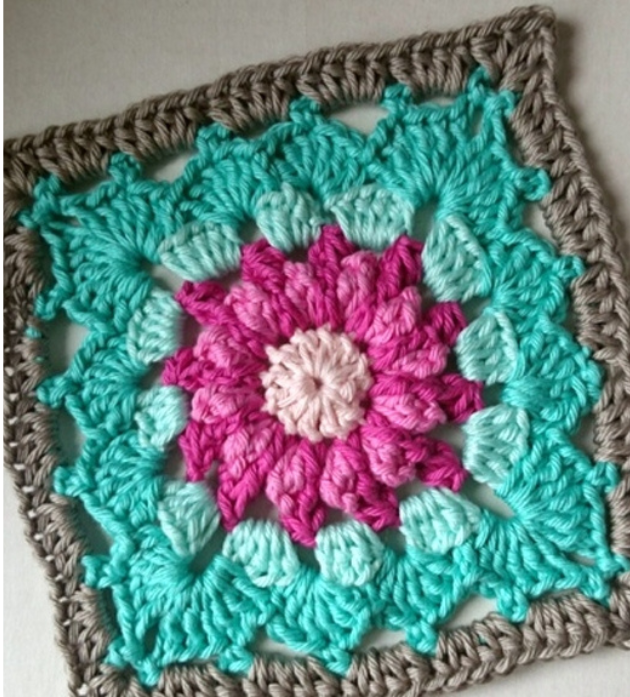
reate the Foundation Without a Starting Chain
- Rather than beginning with traditional chains, the tutorial starts with a special foundation that allows the hat to grow easily. This visual method helps keep the edge neat and flexible.
ROUND 1 (Color A). Slip knot, ch 3, insert hook into 1st chain, yarn over and pull through to form a ring, ch 2
Work in Rounds
- After the center is set, the tutorial shows working in successive rounds. Each round builds on the previous one, expanding the fabric and forming the recognizable square shape
ROUND 2 (Color A). ch 2 (does not count as stitch), 3 dc in same st, ch 1, skip next st, 3 dc in next st, repeat ** 8 times, omit last 3 dc. Join to 1st dc with a sl-st, fasten off, and secure ends. Stitch count: 24 dc, 8 ch 1 spaces
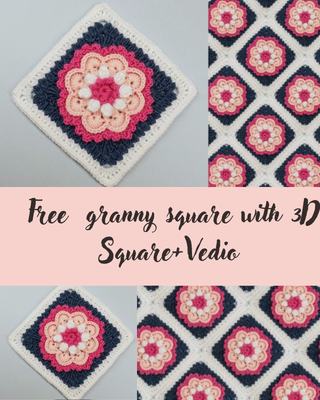
Finish Neatly
- To complete the motif, the video finishes the last round and shows how to secure the yarn and prepare the piece for use or joining with others.
- ROUND 3 (Color B). Join with a standing fpsc around any 2nd dc, *fpsc around next st, working in front of ch1 space…